17 Budget Worksheet Ideas to Track Income and Expenses
Last updated on May 5th, 2026 at 03:43 pm
You've tried budgeting apps that ping you with reminders, only to ignore them after a week. Maybe you've scribbled numbers on scrap paper that ended up lost in a drawer. A dedicated worksheet changes that—it's a physical, customizable tool that puts you in charge.
Think of it as your money command center. No complicated software, no learning curve. Just you, a worksheet, and a system that actually works for your life.
These 17 ideas will help you track income and expenses in a way that fits your style, whether you're a cash-only person or a spreadsheet fan. Let's find your fresh start.
Free PDF Download
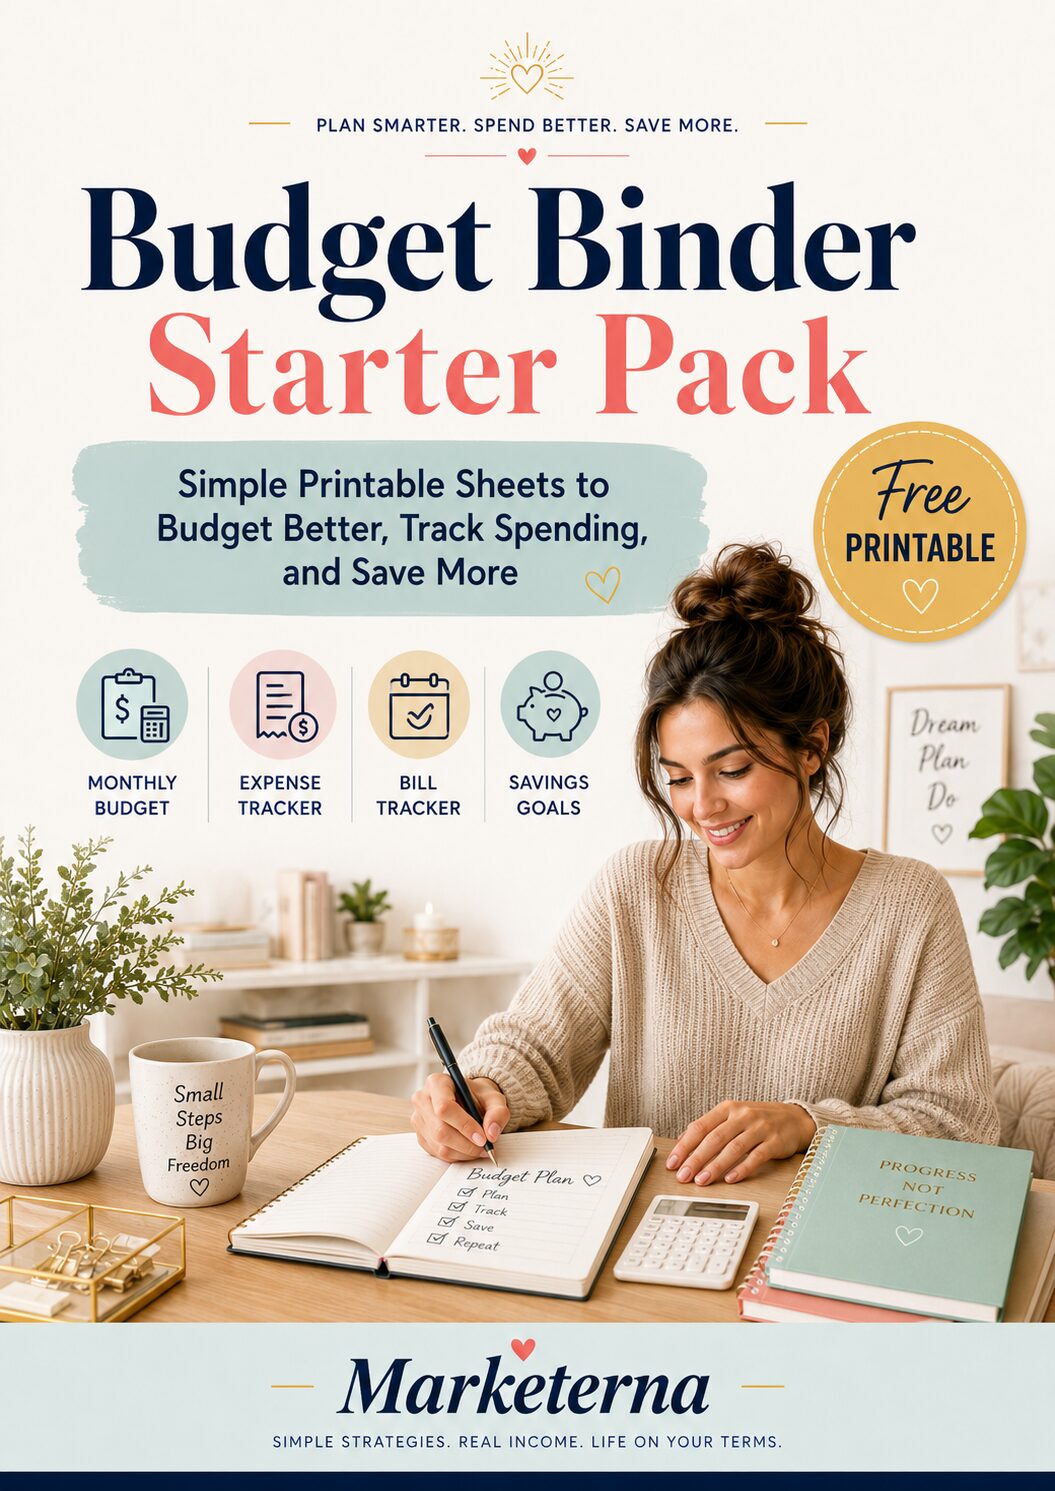
Get the Free Budget Binder Starter Pack
Download simple printable budget sheets to plan your monthly money, track expenses, organize bills, and start building better money habits without feeling overwhelmed.
You’ll get this free PDF plus access to the full Marketerna Save More & Earn More PDF Kit. No spam. Unsubscribe anytime.
1. Zero-Based Budget Worksheet

With a zero-based budget, every dollar you earn gets a specific job—no dollar left unassigned. The goal is simple: your income minus your expenses equals zero. This method forces you to account for every cent, so you're never wondering where your money went.
This worksheet is ideal if you crave full control and accountability. It works well for people with variable income, irregular expenses, or anyone who wants to be hyper-intentional about their spending. You'll list all your income sources, then assign each dollar to categories like bills, savings, debt payments, and even fun money—until the balance hits zero.
How It Works
Start by writing down your total monthly income at the top. Then, list every expense category you can think of—fixed bills, groceries, entertainment, savings, debt repayment, and so on. Allocate dollars to each category until the total equals your income.
If you have money left over, give it a job: add to savings, invest, or put toward a goal.
Why You'll Love It
Zero-based budgeting puts you in the driver's seat. You'll never accidentally overspend because every dollar is already spoken for. It also helps you prioritize what matters most—whether that's paying off debt faster or building an emergency fund.
Tips For Success
Review your worksheet weekly and adjust as needed. If you overspend in one category, pull from another. Use a simple spreadsheet or a printable template.
Consistency is key—stick with it for at least three months to see real results.
2. 50/30/20 Budget Worksheet
The 50/30/20 rule is one of the simplest budgeting methods out there. It divides your after-tax income into three broad categories: needs, wants, and savings. No complex categories or tracking every penny—just a clear, balanced framework that's perfect if you're new to budgeting or want a low-maintenance system.
This worksheet is all about percentages, not precise dollar amounts. Start by calculating your monthly after-tax income. Then allocate 50% to needs (rent, groceries, utilities), 30% to wants (dining out, hobbies, streaming), and 20% to savings or debt repayment.
The beauty is flexibility—as long as you stay within each bucket, you're on track.
Setting Up Your Worksheet
Create three sections labeled Needs, Wants, and Savings. List your typical expenses under each, then total them. Compare the totals to your income percentages.
If needs exceed 50%, trim where possible—maybe a cheaper phone plan or fewer takeout meals. The worksheet makes it visual.
Tracking And Adjusting
Each month, fill in what you actually spent in each category. If wants hit 35%, you'll see it right away. The goal isn't perfection; it's awareness.
Over time, you can tweak the percentages to fit your life—some people shift to 60/20/20 for higher fixed costs.
Why It Works For Beginners
It's forgiving. You don't need to track every coffee—just stay within your wants bucket. This reduces stress and keeps you motivated.
Plus, the savings bucket grows automatically, building a habit without feeling deprived.
Free PDF Download
Get the Free Budget Binder Starter Pack
Download simple printable budget sheets to plan your monthly money, track expenses, organize bills, and start building better money habits without feeling overwhelmed.
You’ll get this free PDF plus access to the full Marketerna Save More & Earn More PDF Kit. No spam. Unsubscribe anytime.
3. Envelope Budget Worksheet
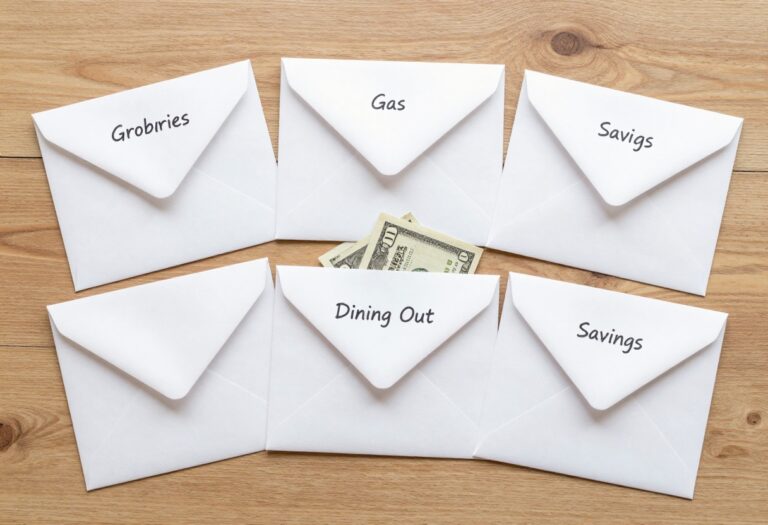
The envelope system is a classic cash-based method, but you can adapt it for the digital age. This worksheet helps you allocate money to specific categories—like groceries, dining out, and entertainment—and track spending against those limits. Whether you stuff physical envelopes or use a digital version, the idea is the same: once the money for a category is gone, you stop spending.
This worksheet is designed to mirror the envelope system. You list your budget categories and assign a cash amount to each. As you spend, you subtract from that category's balance.
The worksheet keeps a running total so you always know how much is left. It works for physical cash users and for those who prefer cards but want the same discipline.
Setting Up Your Envelopes
Start by listing your spending categories—groceries, gas, entertainment, etc. Decide how much cash (or digital allocation) each envelope gets. Write those amounts on the worksheet.
Then, as you spend, record each transaction and subtract from the category balance. The worksheet becomes your ledger.
Digital Envelope Tracking
If you rarely carry cash, use the worksheet to track digital envelopes. Create a column for each category and log expenses from your debit or credit card. The key is to treat each category like a separate account.
When the worksheet shows a category is empty, you stop spending in that area—no exceptions.
Rollover Or Reset?
Decide whether leftover money rolls over to the next month or resets to zero. Rolling over can build a buffer for irregular expenses, while resetting keeps you honest. Mark your preference at the top of the worksheet so you stay consistent.
Either way, the envelope method forces you to prioritize.
4. Pay-Yourself-First Budget Worksheet

Most budgets focus on bills and expenses first, leaving savings as an afterthought. The pay-yourself-first method flips that script. You decide on a savings goal—say 20% of your income—and move that money to savings or investments the moment you get paid.
Everything left over is yours to spend guilt-free.
This worksheet is built around a simple principle: treat your savings like a non-negotiable expense. It has a dedicated section at the top for your savings target and a place to record the actual transfer. Below that, you list your remaining income and allocate it to spending categories.
No need to track every penny—just ensure your savings are covered first.
Set Your Savings Rate
Decide on a percentage or fixed amount you'll save each pay period. Common starting points are 10%, 15%, or 20%. Write it at the top of the worksheet so it's the first thing you see.
Automate The Transfer
The worksheet includes a checkbox to confirm you've moved the money. Pair it with an automatic transfer from checking to savings so you never have to think about it.
Spend The Rest Freely
Once savings are set, the remaining balance is for your lifestyle. No guilt, no micromanaging. Just track big categories like rent, groceries, and fun to stay aware.
Free PDF Download
Get the Free Budget Binder Starter Pack
Download simple printable budget sheets to plan your monthly money, track expenses, organize bills, and start building better money habits without feeling overwhelmed.
You’ll get this free PDF plus access to the full Marketerna Save More & Earn More PDF Kit. No spam. Unsubscribe anytime.
5. Bi-Weekly Budget Worksheet
Getting paid every two weeks can make budgeting a little tricky, especially when some months have three paychecks instead of two. A bi-weekly budget worksheet is built for exactly this rhythm, so you can plan around those extra pay periods and handle bills that don't line up neatly with your pay dates.
This worksheet helps you map your income and expenses to each pay period, rather than a calendar month. You'll track two paychecks per month for most months, but when a third one rolls around, you'll have a plan for it—whether that's paying down debt, boosting savings, or covering a big expense.
Map Your Pay Periods
Start by listing your pay dates for the year. Then, assign each bill to the pay period when it's due. Some bills might fall between paychecks, so you'll need to set aside money from the previous check to cover them.
This worksheet makes that visible at a glance.
Handle Three-paycheck Months
Twice a year, you'll get an extra paycheck. Instead of letting it disappear into everyday spending, decide in advance what it will do. Common uses: build an emergency fund, make an extra debt payment, or fund a big purchase.
Your worksheet should have a dedicated row for that third check.
Adjust For Irregular Bills
Quarterly insurance premiums, annual subscriptions, or semi-annual property taxes can throw off a bi-weekly budget. Break those costs into smaller, per-paycheck amounts and stash the money in a separate category. Your worksheet can include a 'sinking fund' section for these irregular expenses.
6. Monthly Bill Tracker Worksheet
Bills have a way of sneaking up on you, especially the ones that don't come every month. A dedicated monthly bill tracker keeps everything in one place, so you never miss a due date or overlook a creeping subscription. This worksheet is all about visibility and control.
List every bill you pay, from rent and utilities to streaming services and gym memberships. Note the due date, amount, and whether it's fixed or variable. Check off each bill as you pay it, and add a column for notes like "autopay" or "call to negotiate.
" Over time, you'll spot patterns—like that forgotten trial that turned into a monthly charge.
Fixed Vs. Variable Bills
Separate your bills into two categories: fixed (same amount every month, like rent) and variable (fluctuates, like electricity). This helps you predict your baseline spending and identify where you have wiggle room. For variable bills, track the average over three months to set a realistic budget.
Subscription Audit Column
Add a column specifically for subscriptions. List the service, cost, and last date you actually used it. Review this column monthly—cancel anything you haven't touched in 30 days.
This simple habit can save you hundreds a year.
Due Date Calendar View
Include a mini calendar or a list of due dates sorted by day of the month. This visual layout helps you see when payments cluster, so you can adjust due dates or schedule transfers accordingly. No more scrambling to cover multiple bills at once.
7. Debt Snowball Worksheet
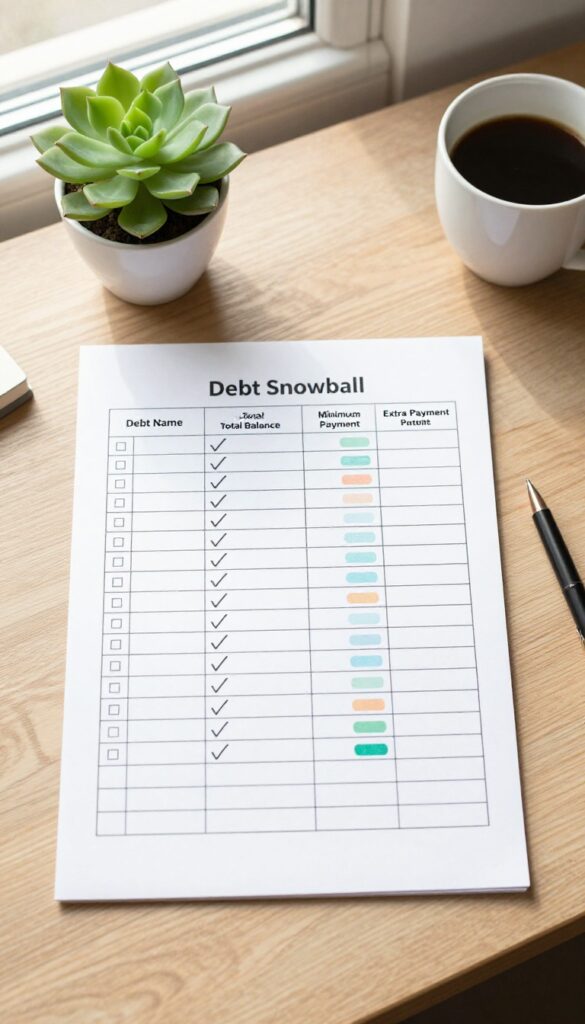
Debt can feel like a heavy weight, but the snowball method turns that weight into momentum. Instead of juggling multiple payments with no clear win, you focus on one debt at a time. A dedicated worksheet keeps you organized and motivated as you knock them out one by one.
List all your debts from smallest to largest balance, ignoring interest rates for now. Each month, pay the minimum on everything except the smallest debt—throw every extra dollar at that one. Once it's gone, roll that payment into the next smallest.
The worksheet tracks your progress, showing each victory and keeping you fired up.
How To Set It Up
Create columns for debt name, total balance, minimum payment, and extra payment. Order them by balance, smallest first. Update the extra payment column each month as you free up cash.
Tracking Your Wins
Add a checkbox or a progress bar for each debt. Color in a section or check it off when you pay off a debt. Seeing those marks pile up is a huge motivator.
Staying Motivated
Include a 'snowball amount' row that shows the total freed-up cash as you eliminate debts. Watch it grow—it's your fuel to keep going.
8. Debt Avalanche Worksheet
If you're the type who likes to crunch numbers and optimize every dollar, the debt avalanche method is your match. Instead of focusing on smallest balances, you target the debt with the highest interest rate first. This approach saves you the most money on interest over time, even if it takes longer to see a zero balance on your first debt.
A dedicated worksheet helps you track each debt's rate, minimum payment, and extra payment so you can watch your highest-cost balances shrink.
The debt avalanche worksheet is built for clarity and math precision. List every debt you have—credit cards, student loans, car loans—sorted by interest rate from highest to lowest. Each month, you pay the minimum on everything, then throw every extra dollar at the top debt.
The worksheet should have columns for: creditor name, total balance, interest rate, minimum payment, extra payment, and new balance. As you eliminate each high-rate debt, you roll that payment into the next one, accelerating your progress.
How To Set Up Your Avalanche Worksheet
Start by gathering all your debt statements and noting the interest rates. Create a table with rows for each debt and columns for the details mentioned above. Sort the rows by interest rate descending.
The worksheet should also include a section for your total monthly payment budget, so you know exactly how much extra you can allocate.
Tracking Progress And Staying Motivated
Since the avalanche method can feel slow at first, add a progress tracker to your worksheet. A simple bar chart or a running total of interest saved can keep you motivated. Celebrate each debt paid off, even if it takes months.
Remember: every dollar not spent on interest is a dollar you keep.
9. Sinking Fund Worksheet
Irregular expenses like car repairs or holiday gifts can wreck your budget if you're not ready. A sinking fund worksheet helps you set aside a little each month so those costs don't feel like emergencies. It's like giving your future self a financial cushion.
Break down big, irregular costs into monthly savings goals. List each expense, its total cost, and the month you'll need it. Divide the total by the number of months until then—that's your monthly contribution.
Track your progress so you know exactly how much you've saved.
Identify Your Irregular Expenses
Start by listing all the expenses that don't happen monthly—car insurance, annual subscriptions, holiday spending, home repairs. Go through your bank statements for the past year to catch everything. The more complete your list, the fewer surprises.
Set Monthly Savings Targets
For each item, figure out how many months you have before it's due. Divide the total by that number. That's your monthly target.
Add all targets together to see your total monthly sinking fund contribution. Adjust your budget to make room.
Track Contributions And Withdrawals
Use your worksheet to log every deposit into each sinking fund category. When you spend from a fund, record the withdrawal and update the remaining balance. This keeps you honest and shows your progress at a glance.
10. Side Hustle Income Tracker Worksheet
Freelancing, gig work, or a weekend side business can add a nice boost to your income—but it also adds complexity. Tracking that money separately from your main paycheck keeps things clean and makes tax time way less stressful. A dedicated side hustle worksheet helps you see exactly how much your extra efforts are bringing in and where that cash is going.
This worksheet is all about separating your side income from your regular budget. It logs each gig, the amount earned, any expenses, and the net profit. You can also track how much you're setting aside for taxes, so there are no surprises in April.
Plus, watching that extra income grow is a great motivator to keep hustling.
What To Track
For each side hustle, note the date, client or platform, the gross amount, and any fees or costs (like supplies or mileage). Then calculate your net earnings. This detail is gold for tax deductions and for understanding which gigs pay off most.
Tax Prep Made Easy
Set aside a percentage of each payment for taxes—typically 25-30% for self-employment. Your worksheet can have a column for that. Come tax season, you'll have a clean record of income and expenses, making filing a breeze.
See The Big Picture
At the end of each month, total your side hustle income and compare it to your regular budget. This shows you how much extra breathing room you have—whether it's for debt payoff, savings, or a little fun. It also helps you decide if you want to scale up or dial back.
11. Weekly Cash Flow Worksheet

Sometimes a month is too long to wait for a reality check. A weekly cash flow worksheet zooms in on the here and now, capturing every dollar that comes in and goes out over seven days. It's like a financial diary that shows you exactly where your money is going while it's still fresh in your mind.
This worksheet is designed for quick, daily entries. List all income received during the week, then track every expense as it happens—coffee runs, gas fill-ups, grocery trips, and those small impulse buys. At the end of the week, total everything up.
The goal isn't perfection; it's awareness. You'll start noticing patterns, like how much you actually spend on takeout or that daily snack habit that adds up fast.
How To Set It Up
Grab a simple notebook or print a template with columns for date, category, description, and amount. Divide it into two sections: income and expenses. Keep it somewhere visible—on your desk or fridge—so you remember to jot things down.
Some people prefer a digital version in a spreadsheet app, but the key is consistency.
What To Watch For
After a few weeks, look for spending leaks. Maybe you're spending $50 a week on convenience store snacks, or that streaming subscription you forgot about is still charging. These small leaks can add up to hundreds of dollars a month.
The weekly view makes them impossible to ignore.
Making It A Habit
Set a daily reminder on your phone to fill in your worksheet. Pair it with an existing habit, like your morning coffee or evening wind-down. After three or four weeks, it'll feel automatic.
And once you see the real-time impact of your choices, you'll be motivated to keep going.
12. Savings Goal Thermometer Worksheet
Saving for a big goal can feel abstract when the money just disappears into an account. A savings goal thermometer makes your progress visible and motivating. Instead of a boring spreadsheet, you get a visual tracker that turns saving into a game.
This worksheet centers on a large thermometer graphic with a target amount at the top. Each time you set aside money, you color in the mercury. It's simple, satisfying, and keeps your goal front and center.
Design Your Thermometer
Draw or print a large thermometer outline on your worksheet. Mark increments along the side—every $100 or $500, depending on your goal. Write your target at the top, like "$2, 000 for Vacation Fund.
" Leave the bulb empty to start.
Track Every Deposit
Each time you transfer money to savings, update the thermometer. Color in the mercury up to the new total. For example, if you save $200 out of $1, 000, fill the bulb and the first 20% of the tube.
Watching the red line rise is oddly addictive.
Celebrate Milestones
Set mini-rewards at quarter marks. When you hit 25%, treat yourself to a coffee. At 50%, maybe a movie night.
These small celebrations keep you motivated and make the process fun.
13. No-Spend Challenge Worksheet
Sometimes the best way to reset your spending habits is to hit pause. A no-spend challenge worksheet helps you commit to a set period—maybe a week or a month—where you only pay for essentials like rent, utilities, and groceries. Everything else is off-limits.
This worksheet becomes your daily tracker, reminding you what you're resisting and showing exactly how much you save.
Design your challenge with clear rules. List allowed expenses (bills, basic food, necessary transport) and forbidden ones (takeout, new clothes, subscriptions). Each day, note any temptation you overcame and the money you kept in your pocket.
At the end, total your savings—it's often surprising and motivating.
Set Your Rules
Define what counts as essential for your situation. Maybe you allow coffee shop visits once a week but ban all online shopping. Write these rules at the top of your worksheet so there's no gray area.
Track Daily Wins
Each day, jot down one thing you wanted to buy but didn't. Add the amount you saved. Over time, these small wins add up and build momentum.
Celebrate The Savings
After the challenge ends, tally your total savings. Decide where that money goes—maybe toward debt, an emergency fund, or a guilt-free treat. Seeing the number makes the sacrifice worthwhile.
14. Kakeibo (Japanese Method) Worksheet

If you're drawn to simplicity and mindfulness, the Kakeibo method might be your perfect match. This century-old Japanese approach turns budgeting into a reflective practice rather than a chore. You'll use just four categories—needs, wants, culture, and unexpected—to track every yen (or dollar) that comes and goes.
The whole point is to slow down, think about your spending, and make intentional choices.
Grab a notebook or print a Kakeibo worksheet. Each month, start by writing your total income and fixed expenses. Then divide your remaining money into the four categories.
At the end of each week, sit down for five minutes and answer four questions: How much did I spend? Did I stick to my plan? What can I improve?
What did I learn? That simple reflection is what makes Kakeibo so powerful.
The Four Pillars
Needs cover essentials like rent and groceries. Wants are those little pleasures—a coffee out, a new book. Culture is for experiences like concerts or museum tickets.
Unexpected covers true surprises, not planned fun. By splitting your spending this way, you see exactly where your money goes without drowning in categories.
How To Start
All you need is a notebook and a pen. Write your income at the top, subtract your fixed costs, then divide the remainder among the four categories. Keep the worksheet somewhere visible—on your desk or kitchen counter—so you update it daily.
The physical act of writing makes you more aware of every purchase.
The Weekly Check-in
Every Sunday, review your spending for the week. Ask yourself: Did I spend mindfully? Did I enjoy what I bought?
What can I do better next week? This isn't about guilt—it's about learning. Over time, you'll naturally start spending less on things that don't matter and more on what truly brings you joy.
15. Shared Expense Worksheet for Couples
Money fights are one of the top reasons couples argue. A shared expense worksheet turns those tense conversations into a team effort. It’s a simple tool where both partners can see joint bills, individual spending, and progress toward shared goals at a glance.
No more guessing who paid what or feeling resentful about uneven contributions.
This worksheet is designed for two people to use together. It has sections for joint expenses like rent, utilities, and groceries, plus separate columns for each person’s personal spending. A shared goal tracker at the bottom keeps you both motivated.
The key is to review it together weekly—not to nitpick, but to celebrate wins and adjust as needed.
How To Split Expenses Fairly
Decide on a split method that feels fair to both of you. Common options: 50/50 if incomes are similar, proportional to income, or a hybrid where each person covers specific bills. Write the agreed split at the top of the worksheet so there’s no confusion.
Tracking Individual Spending Without Judgment
Each partner gets a column for their personal purchases. The rule: no commenting on the other’s entries unless asked. This builds trust and reduces defensiveness.
Over time, you’ll naturally find ways to align your spending habits.
Shared Goal Tracker
Add a section for joint savings goals—vacation, emergency fund, or a big purchase. Update it monthly. Seeing the progress together turns budgeting from a chore into a shared win.
16. Freelance Budget Worksheet
Freelancers know the struggle: one month you're flush, the next you're scraping by. A standard budget falls apart when income isn't steady. That's where a freelance-specific worksheet comes in.
It's built to handle the ups and downs by focusing on averages and separating business costs from personal life.
Start by listing your last six months of income and calculating a monthly average. Use that average as your baseline for personal expenses. Then create separate sections for business expenses (software, equipment, travel) and a tax savings tracker.
This way, you're not caught off guard by quarterly payments or a slow month.
Average Your Income
Instead of budgeting based on your best month, use a rolling average. Each month, update the average with the newest income figure. This smooths out the peaks and valleys, giving you a realistic number to plan around.
Separate Business And Personal
Your worksheet should have clear columns for business expenses and personal spending. This makes tax time easier and helps you see exactly how much you're spending to earn your income. Include a line for estimated taxes so you're setting aside money all year.
Track Irregular Expenses
Freelancers often have lumpy expenses—annual software subscriptions, client lunches, new equipment. Add a section for irregular costs, and divide each by 12 to set aside a monthly amount. That way, when the bill comes, the money's ready.
17. Minimalist Budget Worksheet
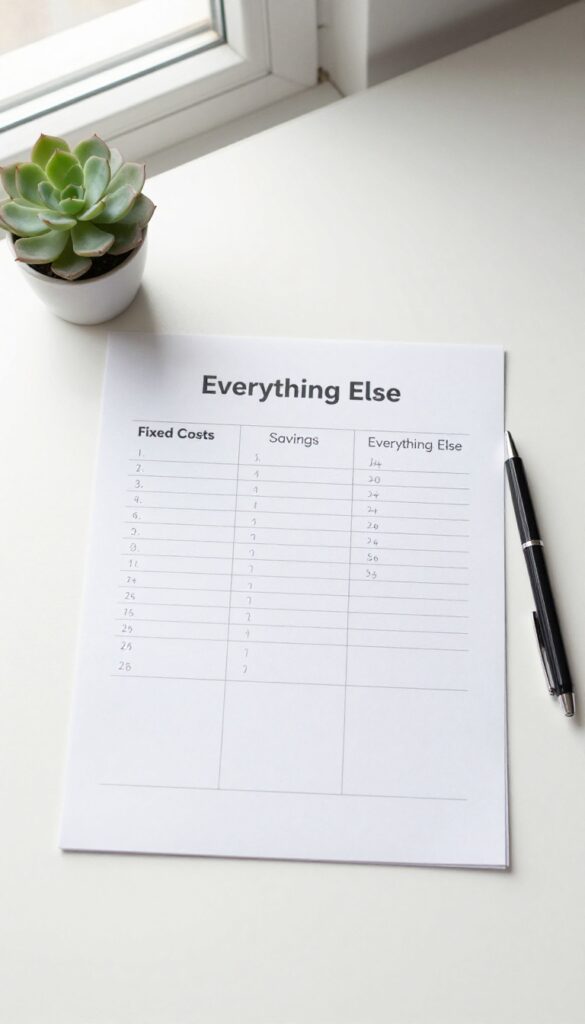
Not everyone wants a spreadsheet with dozens of categories. Sometimes you just need the bare bones to see where your money is going. The minimalist budget worksheet strips budgeting down to three simple categories: fixed costs, savings, and everything else.
It’s perfect if you’ve felt overwhelmed by detailed tracking or just want a no-fuss system that takes five minutes to update.
This worksheet is designed for clarity and speed. You list your income at the top, then subtract fixed costs (rent, utilities, subscriptions), savings contributions, and finally everything else (groceries, dining out, entertainment, etc. ). The goal is to ensure that after the essentials and savings, you have a clear picture of what’s left for flexible spending.
No subcategories, no analysis—just a quick reality check.
Why Three Categories Work
Most budgets fail because they’re too detailed. By lumping discretionary spending into one catch-all, you avoid the hassle of tracking every coffee or snack. Fixed costs are predictable, savings are non-negotiable, and “everything else” gives you freedom without guilt—as long as the total stays within your income.
How To Set It Up
Grab a simple template or draw three columns on a piece of paper. Write your monthly income at the top. Below, list all fixed costs with their amounts, then your savings goal.
Subtract those from income to find your “everything else” limit. Track that category weekly to stay on track. That’s it—no apps, no extra math.
When To Use This Approach
This worksheet is ideal for budgeting beginners, people with irregular income, or anyone who wants to reduce financial stress. It’s also great as a quick monthly check-in even if you use a more detailed system most of the time. If you’ve been avoiding budgeting because it feels like a chore, this minimalist version might be your fresh start.
FAQ
What is the easiest budget worksheet for beginners?
The 50/30/20 worksheet is the simplest. Just split your after-tax income into three buckets: needs, wants, and savings. No complex math required.
Can I use a budget worksheet on my phone?
Yes. Many digital worksheets work in Google Sheets or Excel apps. You can also print them and snap a photo for reference.
How often should I update my budget worksheet?
Weekly updates keep you on track. Monthly reviews help adjust for changes. Daily tracking works if you're building a new habit.
What if my income varies each month?
Use a freelancer or bi-weekly worksheet. Base your budget on your lowest-earning month and treat extra income as bonus savings.
Do I need to track every single expense?
Not forever. Start with detailed tracking for a month to spot patterns, then switch to a high-level worksheet that only tracks categories.
Conclusion
Picking the right budget worksheet is like finding the perfect tool for a job—it makes the whole process smoother. Start with one that matches your current lifestyle, whether that's a simple 50/30/20 or a detailed zero-based sheet. The best worksheet is the one you'll actually use consistently.
Try a few, mix and match, and don't be afraid to tweak as you go. Your financial confidence will grow with every dollar you track.
Free PDF Download
Get the Free Budget Binder Starter Pack
Download simple printable budget sheets to plan your monthly money, track expenses, organize bills, and start building better money habits without feeling overwhelmed.
You’ll get this free PDF plus access to the full Marketerna Save More & Earn More PDF Kit. No spam. Unsubscribe anytime.