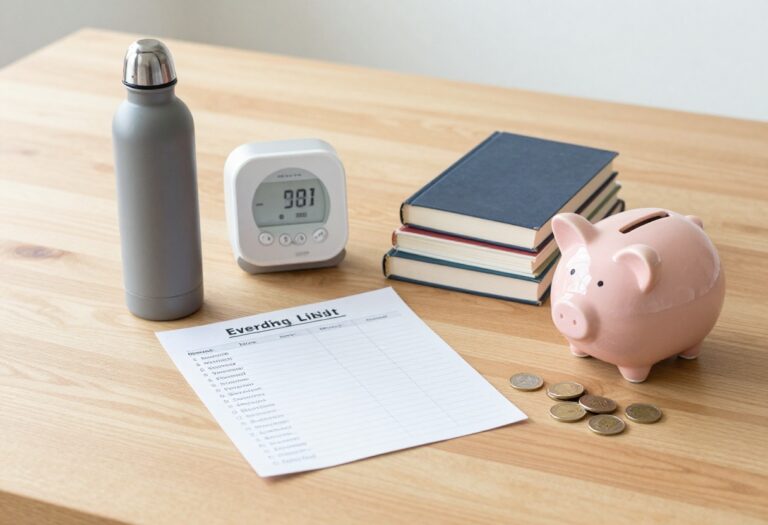
17 Frugal Pantry Ideas That Help You Waste Less Food
You toss out wilted herbs, stale bread, and half-empty bags of lentils more often than you'd like. That wasted food is also wasted money—and it adds up fast. These 17 frugal pantry ideas flip the script, helping you use every last bit of what you buy.
From a simple first-in, first-out system to reviving sad produce with water, each tip is designed to cut waste without adding complexity. You'll learn how to store ingredients smarter, repurpose leftovers creatively, and plan meals around what you already have.
The result? A fuller wallet, a cleaner pantry, and the satisfaction of throwing away almost nothing.

Free PDF Download
Not Sure Which Side Hustle Fits You Best?
Take the free Side Hustle Matchmaker Quiz and get a simple 7-day starter plan to help you choose a beginner-friendly idea based on your time, skills, comfort level, and goals.
You’ll get this free PDF plus access to the full Marketerna Save More & Earn More PDF Kit. No spam. Unsubscribe anytime.
1. Adopt a First-In, First-Out System
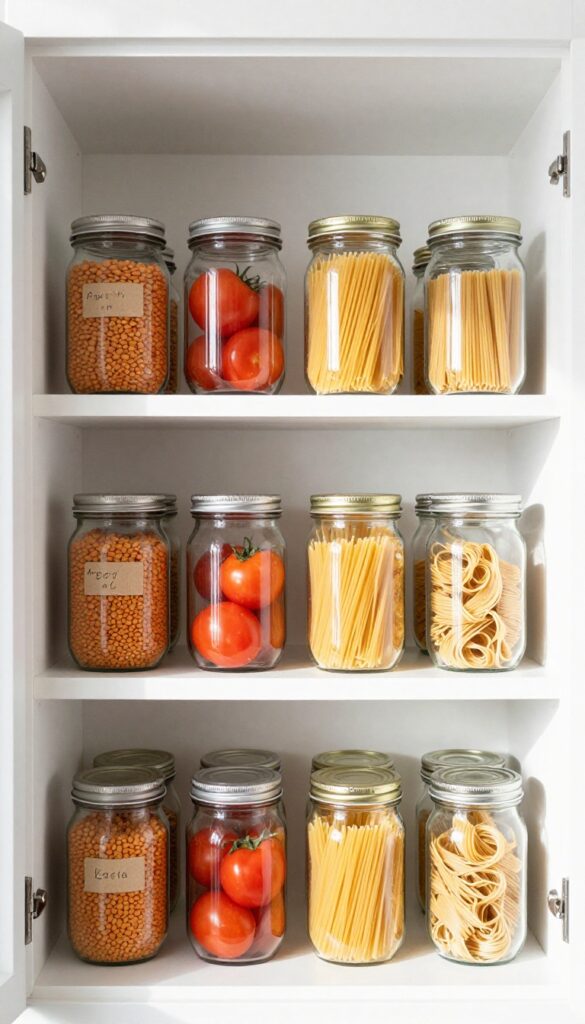
Ever reach for a can of beans only to find it expired three months ago? That happens when you just shove new groceries in front of old ones. A first-in, first-out (FIFO) system puts older items front and center so you actually use them before they go bad.
The idea is dead simple: when you restock, move the older stuff to the front and place new purchases behind it. That way, you naturally grab the soon-to-expire items first. It works for canned goods, pasta, spices, and pretty much anything with a shelf life.
How To Set It Up
Group similar items together—canned tomatoes with canned tomatoes, rice with rice. Then, when you buy new cans, slide the old ones forward and put the new ones in back. Do this every time you unpack groceries, and it becomes a habit in no time.
Bonus: Label And Date
If you buy in bulk or transfer foods into containers, add a sticky note or piece of masking tape with the purchase date. That makes FIFO even easier because you can see at a glance which bag of lentils is oldest.
Why It Saves Money
When you use ingredients before they expire, you throw away less food. Less waste means fewer trips to the store and a lower grocery bill. Plus, you'll always have a clear picture of what you actually have on hand, so you stop buying duplicates.
2. Keep a Running Inventory List
How many times have you bought a jar of tomato paste, only to find three already hiding in the back of the cupboard? A running inventory list stops that cycle cold. It’s a simple habit that saves money, cuts waste, and makes meal planning easier.
Grab a whiteboard, a notebook, or open a notes app on your phone. Every time you use the last of something, jot it down. Before you head to the store, quickly scan your list so you know exactly what you already have.
No more duplicates, no more forgotten ingredients going bad.
Where To Keep Your List
Stick a whiteboard on the fridge or inside a cabinet door. If you prefer digital, try a shared note on your phone or a simple spreadsheet. The key is visibility—you want to see it every time you open the pantry.
What To Include
List staples like canned goods, grains, spices, and frozen items. Don’t forget produce that keeps well, like onions and potatoes. Update the list as you use things up, and do a quick weekly review to catch anything you missed.
How It Saves You Money
You’ll stop buying duplicates of items you already have. Plus, you’ll actually use what’s in your pantry because you know it’s there. That means less food going stale or expiring before you get around to it.
Free PDF Download
Not Sure Which Side Hustle Fits You Best?
Take the free Side Hustle Matchmaker Quiz and get a simple 7-day starter plan to help you choose a beginner-friendly idea based on your time, skills, comfort level, and goals.
You’ll get this free PDF plus access to the full Marketerna Save More & Earn More PDF Kit. No spam. Unsubscribe anytime.
3. Store Herbs and Spices in the Freezer
Herbs and spices lose their punch over time, especially when stored near the stove or in direct light. The freezer changes that game entirely. For fresh herbs, a simple ice cube trick locks in flavor for months.
Dried spices stay potent much longer when kept cold and dark.
Freeze Fresh Herbs In Cubes
Chop fresh herbs like basil, cilantro, or parsley and pack them into ice cube trays. Cover with olive oil or water and freeze. Pop out a cube whenever you need a burst of flavor for soups, stews, or sauces.
No more slimy herb bunches in the fridge.
Store Dried Spices In Airtight Containers
Transfer dried spices from their flimsy store packaging into small airtight jars or bags. Label each one clearly. Place them in the freezer—not the door, where temperature fluctuates.
They'll stay vibrant for up to three years.
Use A Dedicated Freezer Drawer Or Bin
Keep all your frozen herbs and spices together in one drawer or a labeled bin. That way you won't forget what you have. When you need a specific spice, grab the jar, scoop what you need, and return it immediately to avoid condensation.
4. Use Clear Containers for Dry Goods
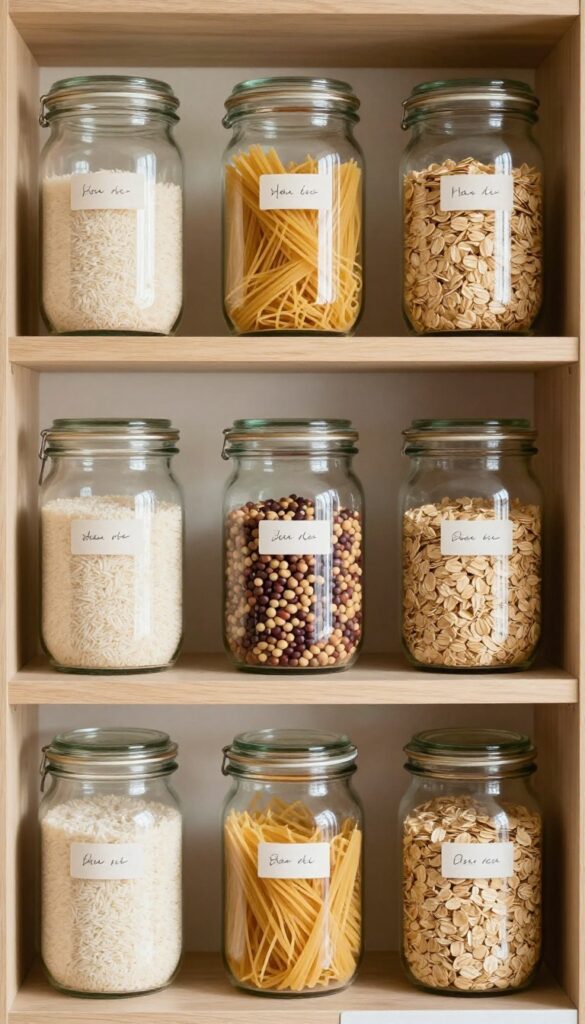
Out of sight, out of mind—and into the trash. That half-empty bag of rice or forgotten bag of lentils is a classic pantry waste culprit. Clear containers fix that by making your inventory instantly visible.
Plus, they keep everything fresher longer.
See Everything At A Glance
When dry goods are in opaque bags, you forget what you have—and often buy duplicates. Transfer pasta, rice, beans, flour, and oats into clear glass or BPA-free plastic jars. Stack them on a shelf or in a cabinet, and you'll know exactly when you're running low.
No more buried bags or mystery ingredients.
Airtight Seals Keep Food Fresher
Flour, nuts, and grains go stale faster when exposed to air. Clear containers with rubber gaskets or snap-lock lids create a tight seal that locks out moisture, pests, and odors. Your dry goods stay crisp and flavorful for months longer than they would in their original packaging.
Organize With Labels And Dates
Even with clear jars, a label helps. Use a chalk marker or removable label to note the contents and the date you transferred them. This makes it easy to use older items first—just rotate jars as you refill.
A quick glance tells you what needs using up.
Free PDF Download
Not Sure Which Side Hustle Fits You Best?
Take the free Side Hustle Matchmaker Quiz and get a simple 7-day starter plan to help you choose a beginner-friendly idea based on your time, skills, comfort level, and goals.
You’ll get this free PDF plus access to the full Marketerna Save More & Earn More PDF Kit. No spam. Unsubscribe anytime.
5. Create a 'Use Me First' Bin
That half-empty jar of salsa, the single sad bell pepper, the yogurt with tomorrow's date—they all end up forgotten until it's too late. A designated 'Use Me First' bin puts them front and center, so you actually eat them before they spoil. It's a tiny change that saves serious money.
Pick a spot—a small bin, a shelf, or even a clear container—and make it the home for anything that's about to expire. Every time you unpack groceries, scan the fridge and pantry for items with short windows and move them there. Then, when you're meal planning or just grabbing a snack, check that bin first.
It becomes a habit fast.
Where To Put It
Visibility is everything. Place the bin at eye level in your fridge or on your counter. If it's hidden in a drawer or on a low shelf, you'll forget about it.
A clear plastic bin works great so you can see what's inside without digging.
What Goes Inside
Anything with a close expiration date: dairy, leftovers, produce that's soft but not bad, opened sauces, and soon-to-expire canned goods. Also toss in partial bags of chips or crackers that might get stale. If you wouldn't buy it fresh but it's still good, it belongs there.
How To Use It Daily
Before you cook, check the bin and build your meal around what's in there. Need inspiration? A quick search for recipes using those ingredients works wonders.
And when you add new items, rotate older ones to the front so nothing gets buried.
6. Repurpose Leftovers into New Meals
That half-eaten casserole or pile of roasted veggies doesn't have to meet the trash can. With a little creativity, leftovers can become entirely new dishes. It's one of the simplest ways to stretch your grocery budget and cut waste.
Start by looking at what you have. Leftover roasted vegetables? Blend them into a creamy soup with broth and seasonings.
Stale bread? Tear it into cubes, toss with oil and herbs, and bake for homemade croutons. Overripe fruit is perfect for smoothies, muffins, or even a quick compote.
The key is to think beyond reheating—transform instead.
Soup From Scraps
Save veggie peels, ends, and bones in a freezer bag. When the bag is full, simmer them with water and aromatics for a rich homemade stock. Use that stock as a base for soups, stews, or cooking grains.
Bread Makeover
Stale bread isn't a lost cause. Turn it into breadcrumbs, croutons, or a savory bread pudding. For a sweet twist, cube it and bake with cinnamon, sugar, and milk for a quick dessert.
Fruit Revival
Overripe bananas, berries, or apples are ideal for baking. Mash bananas into pancakes or banana bread, blend berries into smoothies, or cook down apples into applesauce. You can also freeze fruit for later use in smoothies or pies.
7. Master the Art of Batch Cooking
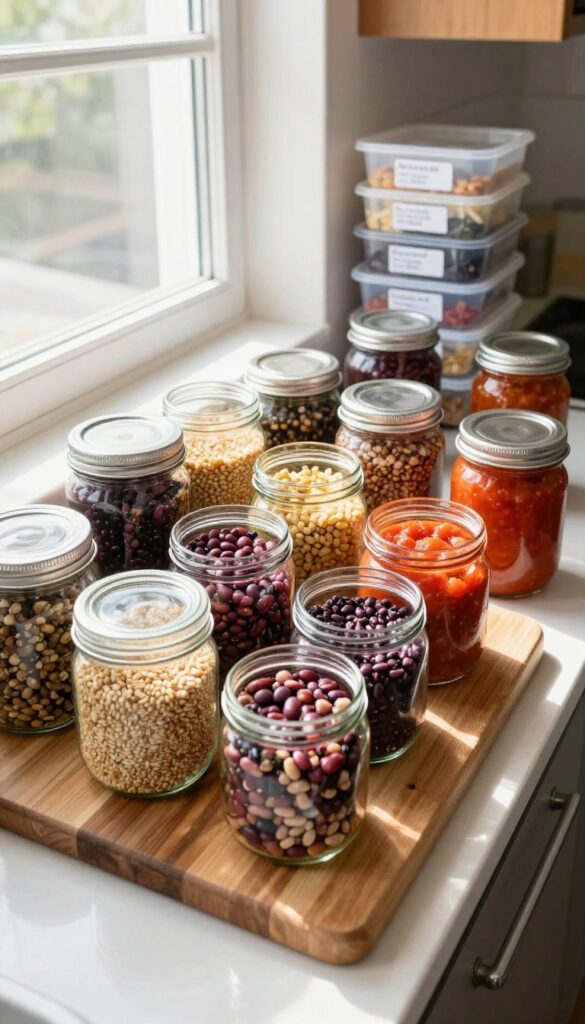
Batch cooking is the secret weapon of frugal cooks. By spending a couple of hours on the weekend cooking large quantities of pantry staples, you set yourself up for quick, low-waste meals all week. No more staring into the fridge at 6 PM with nothing to eat—just grab a prepped portion and go.
When you cook in bulk, you use ingredients more efficiently. That bag of dried beans becomes multiple meals instead of one. A big pot of tomato sauce can top pasta, stretch into soup, or become the base for chili.
Freezing individual portions means you always have a homemade meal ready, reducing the urge to order takeout when you're tired.
Pick Your Batch Staples
Start with ingredients that freeze well: cooked beans, grains like rice or quinoa, broths, and sauces. Roasted vegetables, meatballs, and shredded meat are also great. Choose two or three items to batch cook each week—don't overwhelm yourself.
Portion And Freeze Smartly
Use freezer-safe containers or bags, and label them with the contents and date. Freeze in meal-sized portions so you can thaw exactly what you need. Flat bags stack easily and thaw faster.
A little planning here saves a lot of waste later.
Turn Leftovers Into New Meals
Batch cooking doesn't mean eating the same thing every day. Use leftover beans in a salad, turn extra grains into fried rice, or repurpose sauce into a casserole. Keeping a few versatile bases on hand makes it easy to mix and match.
8. Label Everything with Dates
Ever opened a container only to wonder, "Is this from last week or last month? " That guessing game leads to unnecessary waste. A simple label with the purchase or opening date removes all doubt.
It's a small habit that pays off every time you reach for an ingredient.
Grab a permanent marker or a roll of masking tape. When you open a new bag of flour, jar of sauce, or container of leftovers, write the date right on the package. For items you transfer to clear containers, stick a label on the side.
This way, you always know what's oldest and needs using first. No more sniff tests or tossing perfectly good food out of caution.
What To Label
Focus on items that lose freshness over time: opened condiments, bulk grains, spices, frozen goods, and leftovers. Canned goods with clear expiration dates can skip the label, but anything you open or repackage gets a date. Even produce bags can get a quick marker note.
Make It A Routine
Keep a marker near the pantry or in a kitchen drawer. When you unpack groceries, add dates as you put things away. For leftovers, label before refrigerating.
After a week, it becomes second nature—and you'll stop finding science experiments in the back of the fridge.
Use A First-in, First-out System
Arrange your pantry so older items sit in front. When you buy new cans or boxes, place them behind the existing ones. Combined with date labels, this system ensures you use up what's oldest before it expires.
It's the same trick grocery stores use to keep stock fresh.
9. Store Potatoes and Onions Separately
Potatoes and onions are pantry staples, but keeping them together is a recipe for spoilage. Onions release moisture and gases that cause potatoes to sprout and rot faster. Potatoes, in turn, give off moisture that makes onions soft and moldy.
The fix is simple: give each its own home.
Separate storage can extend the life of both vegetables by weeks. Potatoes need a cool, dark, well-ventilated spot—like a paper bag in a cupboard or a basket in a basement. Onions prefer a dry, airy place away from light, such as a mesh bag hung in a pantry or a separate bowl on the counter.
Never store them in plastic bags, which trap moisture and speed decay.
Best Spots For Potatoes
Keep potatoes in a paper bag, cardboard box, or open basket in a dark, cool area around 45–50°F. A basement, cellar, or a low cupboard works well. Avoid the fridge—cold temperatures turn potato starch into sugar, making them sweet and gritty when cooked.
Also keep them away from onions, apples, and other ethylene-producing fruits.
Onion Storage Done Right
Onions need airflow to stay fresh. Store them in a mesh bag, a wire basket, or a perforated bin in a cool, dry spot—countertop or pantry is fine. Keep them out of direct sunlight and away from potatoes.
Once you cut an onion, wrap it tightly in plastic and refrigerate; use within a few days.
Check And Rotate Weekly
Every week, sort through your potatoes and onions. Remove any that are sprouting, soft, or showing mold—one bad one can spoil the whole batch. Use the oldest ones first.
This simple habit keeps your supply fresh longer and cuts down on waste.
10. Use Your Freezer as a Pantry Extension
Your freezer is basically a pause button for food. Leftover soup, that extra cup of broth, chopped onions, or even milk that's about to expire—all of it can be frozen and used later. It's one of the easiest ways to stop food from going bad before you get a chance to use it.
Think of your freezer as another shelf in your pantry. When you have too much of something, freeze it. When you need something later, thaw it.
This simple shift in mindset can dramatically cut down on waste.
Freeze Leftovers In Portions
Instead of letting leftovers languish in the fridge, portion them into single-serving containers or freezer bags. Label each with the date and contents. That way, you can grab a quick lunch or dinner without defrosting a huge block.
Broth And Stock Cubes
Leftover broth or stock can be poured into ice cube trays and frozen. Pop out the cubes and store them in a freezer bag. You'll have perfectly sized portions for adding flavor to sauces, soups, or stir-fries.
Milk And Dairy
Milk freezes surprisingly well. Pour it into a freezer-safe container, leaving some room for expansion. Thaw in the fridge and shake well before using.
You can also freeze shredded cheese, butter, and even yogurt (use thawed yogurt for baking or smoothies).
Chopped Veggies And Herbs
When you have veggies about to go soft, chop them and freeze on a baking sheet. Once frozen, transfer to a bag. Use them directly in cooked dishes.
Herbs can be chopped and frozen in olive oil in ice cube trays for instant flavor bombs.
11. Plan Meals Around What You Already Have
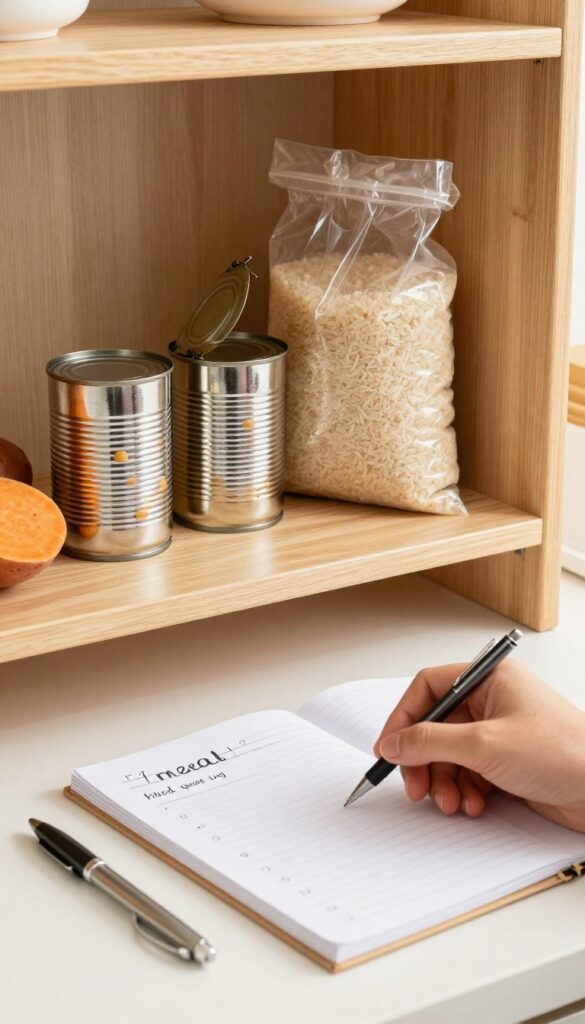
Opening your pantry and seeing a random can of chickpeas, half a bag of rice, and a lonely sweet potato can feel like a puzzle. But that puzzle is actually a free meal waiting to happen. Instead of starting a meal plan from scratch, take five minutes to see what you already own.
Build your weekly menu around those ingredients, then shop only for the missing pieces. This habit saves money, reduces waste, and sparks creativity in the kitchen.
Do A Quick Pantry Audit
Before you even think about recipes, grab a notebook or open a notes app. List every non-perishable item you have: grains, canned goods, spices, frozen veggies, and condiments. Don't forget the odds and ends—half a bag of lentils, a jar of salsa, or that box of pasta hiding in the back.
This inventory becomes your personal grocery store.
Match Ingredients To Meals
Now look for patterns. If you have black beans, corn, and tortillas, tacos or burrito bowls are obvious. Rice, canned tomatoes, and frozen peppers?
That's a rice skillet or stuffed peppers. Use search engines or recipe apps with an “ingredients on hand” feature. You'll be surprised how many complete meals are hiding in your cabinets.
Fill In The Gaps Only
Once you've sketched out a few meals, write down exactly what you need to buy. Maybe it's just fresh produce, dairy, or a protein. Stick to that list.
You'll avoid impulse buys and stop buying duplicates of items you already have. Over time, this approach trains you to see your pantry as a resource, not a storage unit.
12. Revive Wilting Produce with Water
Limp carrots, sad celery, and droopy lettuce don't have to go straight to the compost bin. A simple soak in cold water can bring many vegetables back to life, saving you a trip to the store and preventing unnecessary waste. This trick works best for vegetables that have gone soft from dehydration, not rot.
Trim the ends of limp carrots or celery and place them upright in a glass of cold water, cut-side down. Store them in the fridge for a few hours or overnight. The water rehydrates the cells, making them crisp again.
For leafy greens like lettuce or herbs, submerge the whole leaves in ice water for 10–15 minutes, then spin dry.
Which Vegetables Respond Best
Carrots, celery, radishes, and broccoli stems are top candidates. Leafy greens like kale, spinach, and lettuce also perk up quickly. Avoid reviving mushrooms or vegetables with high moisture content—they'll turn mushy.
A Quick Fix For Herbs
Cilantro, parsley, and mint often wilt fast. Trim the stems and place them in a jar with an inch of water, then cover loosely with a plastic bag and refrigerate. They'll stay fresh for up to a week.
13. Make Your Own Snack Mixes
That last handful of almonds, a few dried apricots, some broken crackers, and the dregs of a cereal box—each alone isn't enough for a snack, but together they become something better. Homemade snack mixes are the ultimate pantry-clearing hack. You get a custom blend that tastes way better than anything from a bag, and you save money by using what you already have.
Start With A Base
Pick one or two crunchy elements like nuts, seeds, pretzels, or cereal. These give the mix texture and substance. Use whatever is open or nearing its expiration date.
Add Sweet Or Savory Flair
Toss in dried fruit, chocolate chips, or coconut flakes for sweetness. For savory, try roasted chickpeas, cheese crackers, or seasoned popcorn. A pinch of salt or spice blend (like cinnamon or chili powder) ties it together.
Store And Enjoy
Keep your mix in an airtight jar or zip-top bag. It stays fresh for weeks and makes an easy grab-and-go snack. Label it so you remember what's inside—and refill as new odds and ends appear.
14. Store Bread in the Freezer
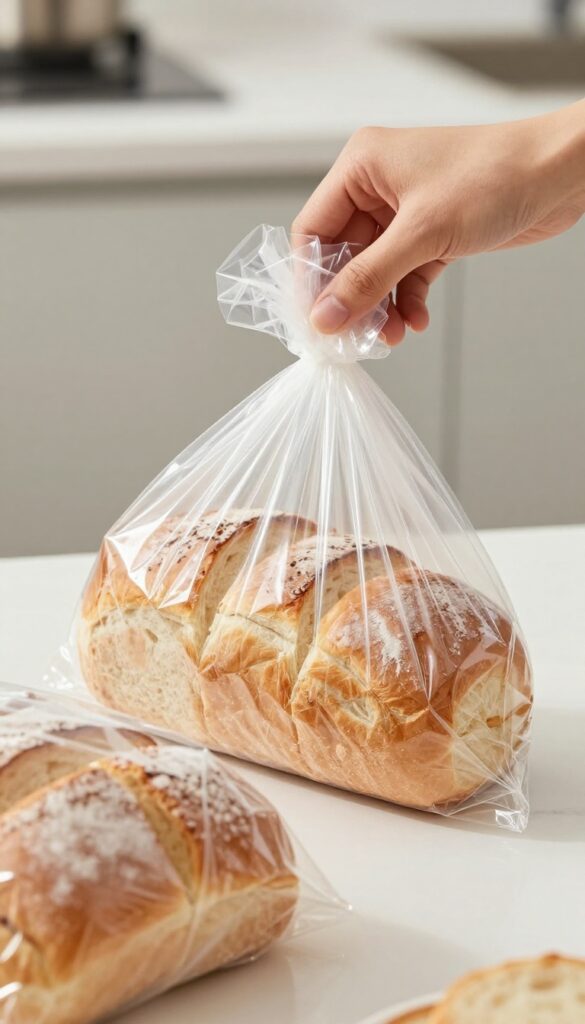
Bread is one of the most wasted foods in the average kitchen. It goes stale, grows mold, or gets pushed to the back of the counter until it's rock hard. The fix is simple: freeze it.
Freezing bread locks in freshness and lets you take out exactly what you need.
Most breads freeze beautifully, from sliced sandwich loaves to artisan boules, tortillas, bagels, and even English muffins. The key is to portion them before freezing. Pre-slice larger loaves so you can grab a single slice without thawing the whole thing.
Tortillas stack easily with parchment paper between them. Bagels can be halved and frozen individually. When you're ready, just pop a slice in the toaster or let it sit at room temperature for a few minutes—it'll taste just as fresh as the day you bought it.
How To Freeze Bread Properly
Wrap bread tightly in plastic wrap or aluminum foil, then place it in a freezer bag. Squeeze out as much air as possible before sealing. This prevents freezer burn and keeps the texture soft.
Label the bag with the date and type of bread so you can rotate stock easily.
Thawing And Reheating Tips
For sliced bread, just toast it straight from frozen—no need to thaw first. For whole rolls or bagels, wrap in foil and warm in a 350°F oven for about 10 minutes. You can also microwave them for 15-20 seconds, but they'll be softer, not crispy.
Avoid thawing at room temperature for more than an hour, as condensation can make the crust soggy.
What About Stale Bread?
If you forget a loaf and it goes stale, don't toss it. Stale bread is perfect for breadcrumbs, croutons, French toast, or bread pudding. You can also revive it by running it under water and baking at 350°F for 5-10 minutes—the steam rehydrates the crumb.
15. Use Mason Jars for Small Items
Those tiny bags of chia seeds, pine nuts, or dried cranberries often get shoved to the back of the pantry and forgotten. Mason jars solve that problem beautifully. They let you see exactly what you have at a glance, keep everything fresh, and stack without toppling over.
Plus, they look way nicer than a crumpled plastic bag.
See What You Have Instantly
Clear glass means no more digging through cabinets wondering if you still have sunflower seeds. You can spot the jar, grab it, and know how much is left. That alone stops you from buying duplicates and letting old items go stale.
Airtight And Stackable
Mason jars seal tight, keeping out moisture, bugs, and odors. Their uniform shape lets you stack them on shelves or in drawers, maximizing every inch of space. No more wobbly towers of mismatched containers.
Easy To Label And Rotate
Write the purchase date on the lid with a dry-erase marker or stick a small label on the side. When you refill, just update the date. This makes first-in, first-out effortless—you'll always use the oldest seeds or nuts first.
16. Turn Scraps into Stock
That pile of onion skins, carrot peels, and celery leaves you usually toss? It's liquid gold waiting to happen. Homemade stock is one of the easiest ways to squeeze every bit of value from your produce—and it costs you nothing extra.
Start a freezer bag dedicated to veggie scraps. Every time you chop onions, peel carrots, or trim herbs, toss the usable bits into the bag. Keep it in the freezer until it's full, then simmer them into a rich, flavorful stock.
Strain, cool, and use it for soups, rice, or sauces.
What To Save (and What To Skip)
Good candidates: onion skins and ends, carrot peels, celery leaves and ends, mushroom stems, herb stems (parsley, cilantro, thyme), corn cobs, and garlic skins. Avoid: broccoli, cauliflower, cabbage, or Brussels sprouts—they make stock bitter. Also skip anything moldy or dirty.
The Simple Simmer Method
Once your bag is full, dump the scraps into a large pot. Cover with cold water by about an inch. Add a bay leaf, a few peppercorns, and a pinch of salt if you like.
Bring to a boil, then reduce to a simmer. Let it bubble gently for 45 minutes to an hour. Strain through a fine-mesh sieve or cheesecloth.
Storage And Use
Let the stock cool completely before storing. Pour into jars or freezer containers, leaving an inch of headspace for expansion. It keeps in the fridge for about a week or in the freezer for up to three months.
Use it anywhere you'd use boxed broth—soups, stews, cooking grains, or deglazing pans.
17. Shop Your Pantry First
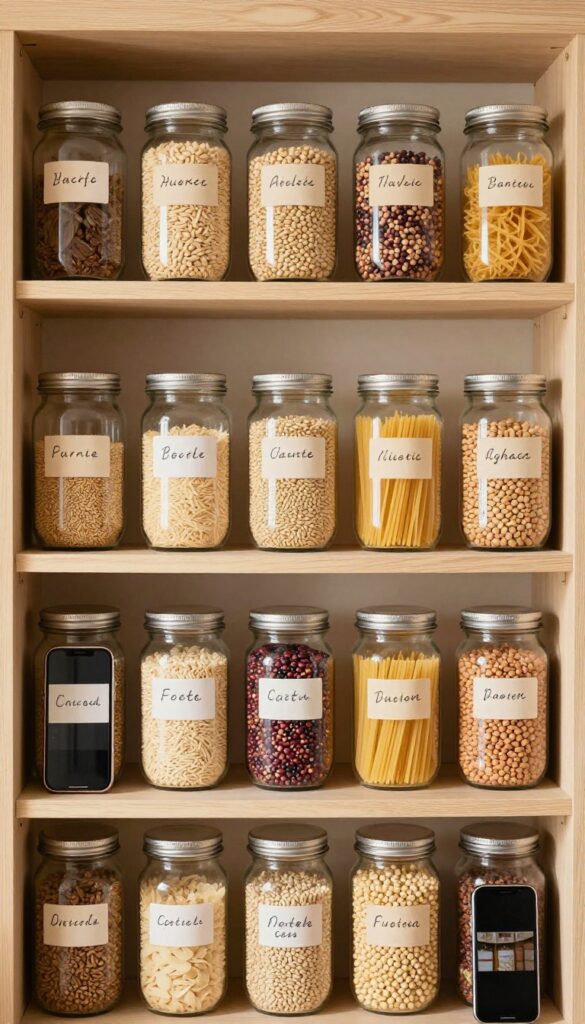
Before you grab your keys for another grocery run, pause. Open your pantry, snap a quick photo with your phone, and take a good look. That picture is your new shopping list.
Challenge yourself to use up at least one item that's been sitting there for weeks—or months. It's a small habit that saves money and cuts waste instantly.
Shopping your pantry first is about making what you already have the star of your next meal. It's not about deprivation; it's about creativity. You might discover a forgotten can of chickpeas that becomes lunch or a half-used bag of rice that needs to be finished.
This simple shift in mindset turns your pantry into a resource, not just storage.
The Photo Trick
Snapping a photo does two things: it forces you to see everything, and it makes you accountable. When you're at the store, scroll back to that image. You'll avoid buying duplicates and remember that bag of lentils hiding behind the oatmeal.
It's a visual reminder that your pantry is already full of possibilities.
One-item Challenge
Each week, pick one item that's been neglected. Maybe it's that jar of sun-dried tomatoes or the box of couscous. Build a meal around it.
You'll be surprised how a single ingredient can inspire a whole dish. Plus, clearing out old items makes room for new ones—and keeps your pantry tidy.
Make A Pantry List
After your photo, jot down what you have plenty of. Then, before buying anything new, ask: Can I make a meal with what's here? Often, you're just missing one or two fresh items.
That's all you need to buy. This habit trains you to see your pantry as the foundation of your meals, not an afterthought.
FAQ
How do I start a frugal pantry on a tight budget?
Start small by buying only what you need and using up what you have. Focus on versatile staples like rice, beans, and oats. Gradually build your stock with sales and bulk buys.
What are the best containers for pantry storage?
Clear, airtight containers like glass jars or BPA-free plastic bins work best. They keep food fresh and let you see contents at a glance.
How long do pantry staples actually last?
Canned goods last 1-5 years, dry pasta 1-2 years, rice up to 2 years (brown rice less), and spices 1-3 years. Always check for signs of spoilage.
Can I really save money by reducing food waste?
Absolutely. The average household wastes hundreds of dollars per year on uneaten food. Using a frugal pantry system can cut that waste significantly.
What's the easiest way to remember to use older items?
Keep a 'use me first' bin or shelf, and label everything with dates. Also, do a quick pantry check before each grocery trip.
Conclusion
These 17 frugal pantry ideas show that wasting less food isn't about deprivation—it's about creativity and a little planning. Pick just one or two that feel doable, and start there.
Before you know it, you'll be saving money, eating better, and feeling good about using what you already have.
Free PDF Download
Not Sure Which Side Hustle Fits You Best?
Take the free Side Hustle Matchmaker Quiz and get a simple 7-day starter plan to help you choose a beginner-friendly idea based on your time, skills, comfort level, and goals.
You’ll get this free PDF plus access to the full Marketerna Save More & Earn More PDF Kit. No spam. Unsubscribe anytime.