17 Blog Launch Checklist Ideas for Beginners
Starting a blog is exciting, but the to-do list can feel endless. You want to get it right without spending a fortune or burning out. That's where a solid checklist comes in.
This isn't about perfection—it's about progress. These 17 ideas will help you launch smart, even on a tight budget. Each one is a small step that adds up to a polished, professional blog.
Pick and choose what fits your situation. You don't have to do everything at once. Just start ticking boxes and watch your blog come to life.
Free PDF Download
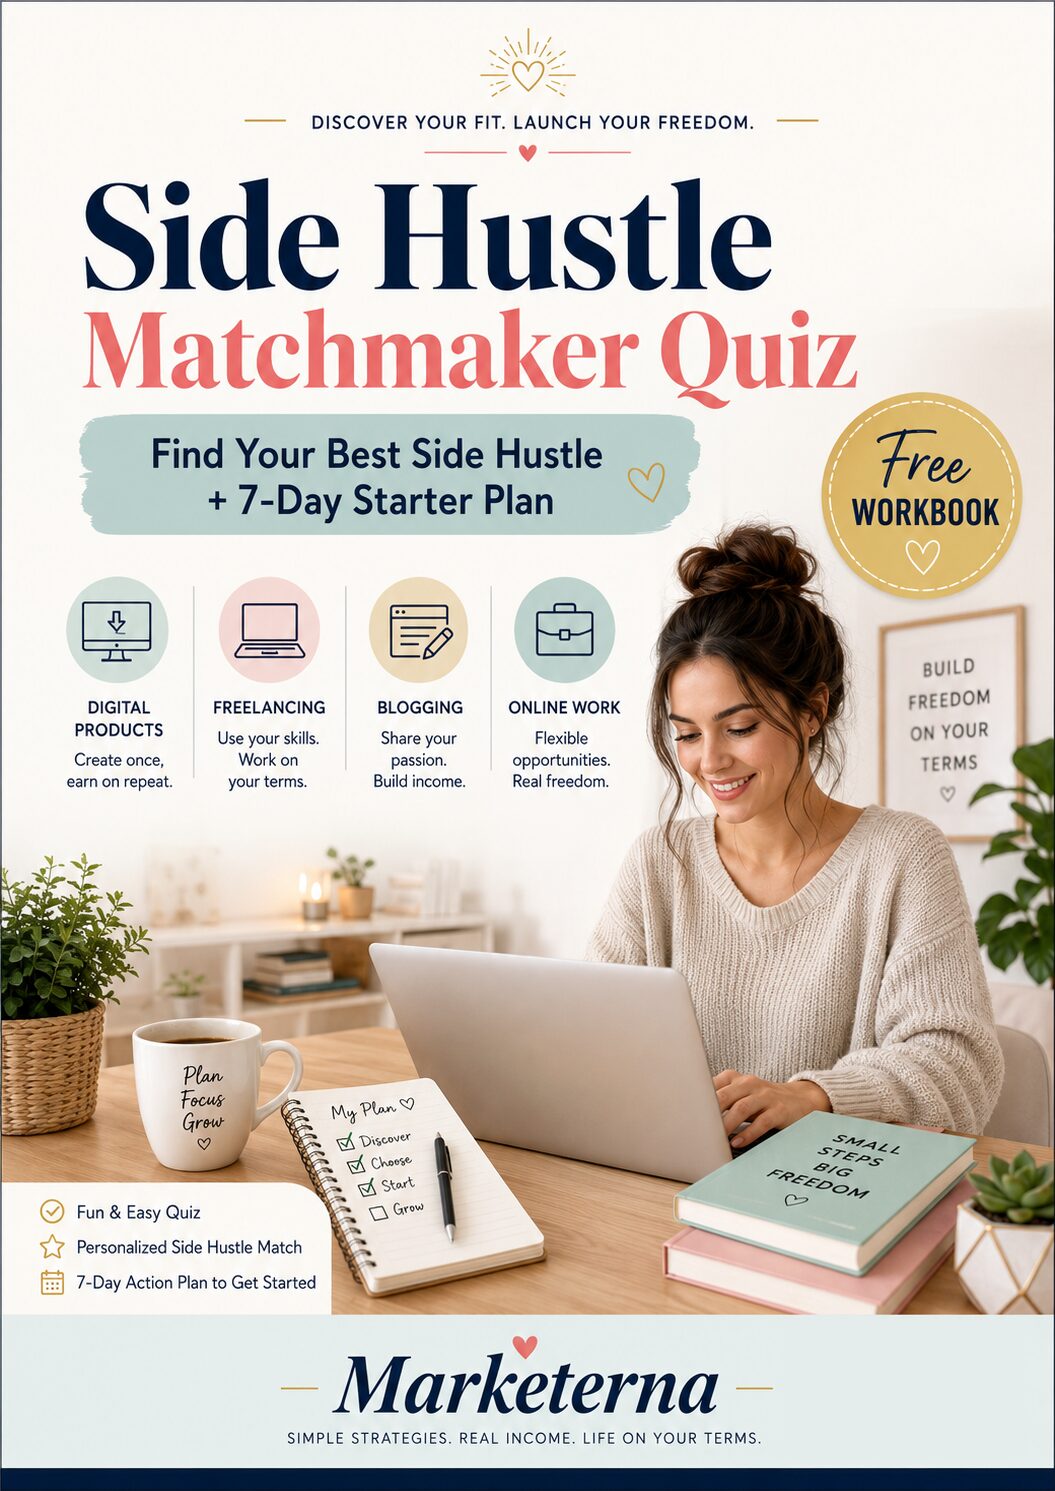
Not Sure Which Side Hustle Fits You Best?
Take the free Side Hustle Matchmaker Quiz and get a simple 7-day starter plan to help you choose a beginner-friendly idea based on your time, skills, comfort level, and goals.
You’ll get this free PDF plus access to the full Marketerna Save More & Earn More PDF Kit. No spam. Unsubscribe anytime.
1. Choose a Niche That Won't Bore You in Six Months
Picking a niche is the first big decision you'll make, and it can make or break your motivation. The key is to find a topic you genuinely enjoy and that has a real audience. Avoid jumping on fleeting trends—they can leave you stuck writing about something you don't care about.
Test your idea by checking if people are actually searching for it online.
Your niche should be a balance of passion and practicality. Start by listing topics you love talking about. Then, use free tools like Google Trends or AnswerThePublic to see if there's demand.
If people are asking questions about it, you have a green light.
Why Passion Matters
When you genuinely like your niche, writing feels less like work. You'll naturally come up with fresh ideas and stay consistent. Boredom is the #1 reason new bloggers quit.
How To Validate Your Niche
Search for your topic on Google and see what comes up. Look for forums, social media groups, and other blogs. If there's an active community, you've got a viable niche.
Avoiding Trend Traps
Trends like fad diets or viral challenges can give you quick traffic, but they fade fast. Instead, focus on evergreen topics that people will search for years from now.
2. Pick a Domain Name That's Easy to Spell and Remember
Your domain name is your blog's address on the internet. It's often the first thing people see, so you want it to be catchy and straightforward. A confusing domain can send potential readers elsewhere.
Keep it short, avoid hyphens and numbers, and use a. com if possible. Check social media handles to make sure the name is available.
Why Short And Simple Wins
Short names are easier to type and remember. Aim for under 15 characters. Avoid tricky spellings or obscure words that people might mess up.
Skip Hyphens And Numbers
Hyphens and numbers often lead to confusion. When someone hears your domain, they might forget the hyphen or type the number as a word. Keep it clean.
Stick With .com If You Can
. com is still the most trusted and recognized extension. If your first choice is taken, try a slight variation before settling for. net or. co.
Check Social Media Handles First
Before buying your domain, see if the same name is available on major social platforms. Consistent branding across your domain and handles makes you look professional.
Free PDF Download
Not Sure Which Side Hustle Fits You Best?
Take the free Side Hustle Matchmaker Quiz and get a simple 7-day starter plan to help you choose a beginner-friendly idea based on your time, skills, comfort level, and goals.
You’ll get this free PDF plus access to the full Marketerna Save More & Earn More PDF Kit. No spam. Unsubscribe anytime.
3. Set Up Reliable Hosting Without Overspending
Your blog needs a home, but you don't have to rent a mansion. Shared hosting from a trusted provider gives you everything you need to start, without the hefty price tag. Look for plans under $10/month that include a free SSL certificate, solid uptime, and helpful support.
What To Look For In A Hosting Plan
Focus on three things: reliability, security, and support. A 99. 9% uptime guarantee ensures your blog stays online.
Free SSL keeps data safe and helps with SEO. And 24/7 support saves you when something goes wrong at 2 AM.
Top Budget-friendly Providers
SiteGround and Bluehost are beginner favorites. Both offer plans starting around $5–$10/month, include free SSL, and have one-click WordPress installs. They also provide solid customer support, so you're never stuck alone.
Avoid Common Hosting Mistakes
Don't go for the cheapest option without checking reviews—some budget hosts have poor performance. Also, avoid locking into multi-year contracts until you're sure the service works for you. Start month-to-month if possible.
4. Install WordPress and Choose a Lightweight Theme
Once you have hosting, it's time to install WordPress. Most hosts offer one-click installation, so you can be up and running in minutes. Then comes the fun part: picking a theme that sets the tone for your blog without slowing it down.
WordPress powers over 40% of the web for a reason—it's beginner-friendly and incredibly flexible. For a fast, professional blog, choose a lightweight theme that prioritizes speed and mobile responsiveness. Free options like Astra, GeneratePress, or Kadence are excellent starting points.
They load quickly, work seamlessly on phones, and let you customize colors, fonts, and layouts without touching code. Avoid bloated multipurpose themes that pack in features you don't need yet.
One-click Installation
Most hosting providers include a simple WordPress installer in their dashboard. Look for a "Install WordPress" button, fill in your site name and admin credentials, and you're done. The whole process takes less than five minutes.
Why Lightweight Matters
Heavy themes slow down your site, hurting user experience and SEO. Lightweight themes have clean code and minimal dependencies, which means faster load times. Tools like GTmetrix can help you test speed, but starting with a lean theme gives you a head start.
Customization Without Code
Modern lightweight themes come with built-in customizers. You can tweak headers, colors, fonts, and layouts visually. No need to learn CSS or PHP.
If you want more control, page builders like Elementor integrate well with these themes.
Free PDF Download
Not Sure Which Side Hustle Fits You Best?
Take the free Side Hustle Matchmaker Quiz and get a simple 7-day starter plan to help you choose a beginner-friendly idea based on your time, skills, comfort level, and goals.
You’ll get this free PDF plus access to the full Marketerna Save More & Earn More PDF Kit. No spam. Unsubscribe anytime.
5. Install Essential Plugins (But Don't Go Overboard)
Plugins add functionality to your blog, but it's easy to get carried away. Every extra plugin can slow down your site and introduce security risks. Stick to the essentials at launch and add more only when you truly need them.
Start with a security plugin, a caching plugin, and an SEO plugin. Add more only as needed. Too many plugins slow down your site.
Start With The Big Three
Every new blog needs a security plugin like Wordfence or Sucuri to block threats. A caching plugin such as WP Rocket or W3 Total Cache speeds up your site. And an SEO plugin like Rank Math or Yoast helps your content get found.
These three cover the basics without bloat.
Avoid Plugin Creep
It's tempting to install plugins for every cool feature you see. But each one adds code that can conflict or slow things down. Before adding a plugin, ask: Do I need this right now?
Can I do it without a plugin? Your site will thank you.
Check Plugin Quality First
Not all plugins are created equal. Stick to well-reviewed plugins with regular updates and good support. Check the last updated date and number of active installs.
A abandoned plugin can become a security hole.
6. Create a Simple Logo and Brand Colors
Your blog's look matters more than you think. A consistent color scheme and a simple logo make your site feel professional and trustworthy. The good news?
You don't need a designer or expensive software to get started.
Design A Logo With Free Tools
Canva is perfect for beginners—it has drag-and-drop logo templates you can customize in minutes. Looka uses AI to generate options based on your style preferences. Both are free to start and give you a polished result without any design skills.
Pick 2-3 Brand Colors
Stick with two or three colors that represent your blog's vibe. Use a tool like Coolors or Canva's color palette generator to find matching shades. Keep it simple: one main color, one accent, and one neutral (like white or gray).
Choose A Font Pair
Pick one font for headings and another for body text. Sans-serif fonts (like Montserrat or Open Sans) are clean and easy to read online. Pair them with a serif font (like Merriweather) for a classic contrast.
Test them on your site to make sure they look good together.
Stay Consistent Everywhere
Use the same logo, colors, and fonts on your blog, social media profiles, email newsletter, and any graphics you create. Consistency builds recognition and makes you look established. Save your brand assets in a folder so you can reuse them easily.
7. Write Your About Page First

Most beginners dive straight into writing blog posts, but your About page is the first thing curious visitors check. It's your chance to make a personal connection before they read a single article. Writing it early also forces you to clarify your blog's purpose and voice.
What To Include
Start with a friendly introduction: who you are, what you do, and why you started the blog. Share a bit of your story – maybe a struggle or a moment that sparked the idea. Then explain what readers can expect: topics, tone, and how often you'll post.
End with a warm invitation to stick around.
Keep It Real
Don't try to sound like a professional writer. Use your natural voice – the same way you'd talk to a friend. People connect with authenticity, not perfection.
A few personal details (your favorite coffee, a quirky hobby) make you memorable.
Update As You Grow
Your About page isn't set in stone. As your blog evolves, revisit and tweak it. Add new achievements, change your focus, or refresh the tone.
A living About page shows readers you're active and engaged.
8. Set Up a Contact Page and Privacy Policy
A contact page makes you accessible and builds trust. A privacy policy isn't just good practice—it's legally required if you collect any data, like email addresses or analytics. Don't skip this step; it's easier than you think.
Why A Contact Page Matters
A simple contact page lets readers, potential collaborators, and brands reach you. It adds credibility and can lead to opportunities. Include a contact form or your email address, and maybe links to your social media.
Privacy Policy Basics
If you use Google Analytics, an email list, or comments, you're collecting data. Laws like GDPR and CCPA require you to disclose what data you collect and how you use it. Don't worry—you don't need a lawyer.
Use A Generator To Save Time
Free privacy policy generators can create a compliant policy in minutes. Just enter your site details, and they'll customize it for you. Popular options include Termly, FreePrivacyPolicy. com, and Shopify's generator.
Then simply paste it onto a new page.
9. Plan Your First 5 to 10 Blog Posts
A blank blog is intimidating. Planning your first handful of posts ahead of time removes the pressure of coming up with ideas on the spot. It also ensures you start with content that actually matters to your readers.
Brainstorm topics that solve a specific problem or answer a common question in your niche. Jot down at least 10 ideas, then pick the 5 to 10 that feel most urgent or useful. Outline each one before you write—this keeps your posts focused and saves time later.
Start With A Problem Or Question
Your audience is searching for answers. Think about what they struggle with or ask about most. A post titled "How to [Solve X]" or "What to Do When [Problem]" is almost guaranteed to resonate.
Outline Before You Write
A simple outline—main point, key takeaways, and a conclusion—keeps you on track. It prevents rambling and makes sure every paragraph serves a purpose. You'll thank yourself later when editing.
Mix Pillar Posts With Quick Wins
Pillar posts are comprehensive guides that establish authority. Quick wins are shorter, actionable tips. A mix of both keeps your content strategy balanced and your readers engaged.
10. Write and Publish One Pillar Post Before Launch
Before you even think about promoting your blog, you need something worth promoting. A single pillar post—a comprehensive, authoritative guide on a core topic—can be your launchpad. It's not just another blog post; it's the foundation piece that establishes your expertise and attracts search traffic for years to come.
A pillar post is a long-form, in-depth article (1500+ words) that covers a broad topic your audience cares about. It's the kind of resource people bookmark, share, and link back to. Publishing one before launch gives you a strong piece of content to lead with when you start promoting.
Pick A Topic That Matters
Choose a subject that's central to your niche—something your target audience searches for regularly. Think "ultimate guide, " "complete checklist, " or "everything you need to know. " This post should answer the biggest questions your readers have.
Make It Comprehensive And Scannable
Break the content into clear sections with headings, bullet points, and short paragraphs. Include examples, step-by-step instructions, and visuals where helpful. The goal is to be the best resource on that topic—so thorough that readers don't need to look elsewhere.
Optimize For Search Engines
Do basic SEO: use a clear keyword in the title and headings, write a compelling meta description, and add internal links to other posts (even if they're not published yet). This gives your pillar post a head start in rankings from day one.
11. Set Up Google Analytics and Search Console

You can't improve what you don't measure. Google Analytics and Search Console are free tools that show you where your traffic comes from and how people find your site. Install them early so you have data from day one, not weeks later when you're trying to figure out why no one is reading.
These two tools work together like a dashboard for your blog. Analytics tells you who visits, what they click, and how long they stay. Search Console shows you which search terms bring people in and if Google has any issues indexing your pages.
Setting them up takes less than an hour and gives you insights that help you write better content and grow faster.
Connect Google Analytics
Create a free account at analytics. google. com and add your website. You'll get a tracking code that goes into your blog's header. Most platforms like WordPress have plugins to make this easy.
Once installed, you'll start seeing visitor data within 24 hours.
Verify Search Console
Go to search. google. com/search-console and add your property. You'll need to verify you own the site – usually by adding a DNS record or uploading a file. After that, submit your sitemap (often /sitemap. xml) so Google knows all your pages.
This helps your posts get indexed faster.
Check Data Regularly
Don't obsess over numbers daily, but peek once a week. Look at which pages get the most traffic, what keywords people use, and if any errors pop up. This feedback loop helps you double down on what works and fix what doesn't.
12. Create a Simple Email Signup Form
Your email list is one of the most valuable assets for your blog. Even before launch, you can start collecting emails from interested readers. It doesn't have to be complicated—just a simple form and a reason for people to sign up.
Set up a free account with Mailchimp or MailerLite. Both offer easy embeddable forms. Place your signup form prominently on your blog—try the sidebar, a pop-up, or a dedicated landing page.
Offer a lead magnet like a checklist or ebook related to your niche. This gives visitors an incentive to join your list. Start building that connection from day one.
Choose The Right Tool
Mailchimp and MailerLite are both beginner-friendly and free for small lists. MailerLite is simpler and has better deliverability. Pick one and set up a basic form with just name and email fields.
Create A Lead Magnet
Your lead magnet should solve a small problem for your audience. For a blog launch checklist, offer a downloadable PDF version. Keep it short and actionable—people love free resources.
Place Your Form Strategically
Put your signup form where visitors can see it without scrolling. A top bar, welcome gate, or inline form at the end of posts works well. Test different positions to see what gets the most signups.
13. Optimize Your Blog for Speed
Nobody likes waiting for a slow website. If your blog takes more than a few seconds to load, visitors will leave before they even see your content. Speed isn't just about user experience—it also affects your search engine rankings.
Google rewards fast sites, so optimizing for speed is a win-win.
Compress Your Images
Large image files are one of the biggest culprits of slow load times. Before uploading, use a tool like TinyPNG or ImageOptim to compress your images without losing quality. Aim for file sizes under 100KB for most images.
Enable Caching
Caching stores a version of your site on visitors' browsers so they don't have to reload everything each time. Most blogging platforms have caching plugins—like W3 Total Cache for WordPress. Enable browser caching and set expiration times to reduce server load.
Use A Cdn
A Content Delivery Network (CDN) serves your site from servers around the world, so visitors download files from the closest location. Services like Cloudflare offer free plans that can dramatically speed up your blog. It also adds security benefits.
14. Set Up Basic SEO for Each Post
SEO sounds technical, but the basics are simple. You don't need to be an expert to give each post a solid foundation. A few small tweaks make your content easier for search engines to find and understand.
Use An Seo Plugin
Plugins like Yoast or Rank Math guide you through the essentials. They show you where to add your meta title, meta description, and focus keyphrase. Follow their suggestions, but keep it natural.
Write A Strong Meta Title And Description
Your meta title should include your target keyword and be under 60 characters. The description, under 160 characters, should summarize the post and entice clicks. Think of it as a mini ad for your article.
Optimize Your First 100 Words
Search engines pay extra attention to the beginning of your post. Use your target keyword naturally within the first 100 words. Also include it in at least one heading, preferably an H2 or H3.
Add Alt Text To Images
Every image needs descriptive alt text. This helps visually impaired readers and gives search engines more context. Keep it concise and include the keyword if it fits naturally.
15. Create Social Media Profiles for Your Blog
Your blog needs a home on social media, but you don't have to be everywhere at once. Pick one or two platforms where your target audience actually spends time. Set up profiles using your blog name and logo so everything looks consistent.
Start sharing content and engaging with people even before your official launch.
Choose The Right Platforms
Think about where your readers hang out. If you're writing about food, Instagram and Pinterest are goldmines. For business or tech blogs, Twitter and LinkedIn work better.
Don't stretch yourself thin—focus on one platform first, master it, then add another.
Keep Your Branding Consistent
Use the same profile picture, bio, and handle across all platforms. Your blog name should be easy to find. A consistent look builds trust and makes you recognizable.
Update your bio with a short description and a link to your blog.
Start Building Hype Before Launch
Share sneak peeks, behind-the-scenes content, or teaser posts. Engage with others in your niche by commenting and sharing their content. This way, when you launch, you already have an audience waiting.
16. Write a Launch Day Post and Schedule It
Your launch day is a big moment, so make sure you have a post ready to go that tells the world you're open for business. This isn't just any post—it's your official hello, your mission statement, and your invitation rolled into one. Schedule it in advance so you can focus on engaging with readers instead of scrambling to publish.
What To Include In Your Launch Post
Start with a warm welcome and a brief intro about who you are and why you started the blog. Share what topics you'll cover and what readers can expect in terms of tone and frequency. Add a personal touch—maybe a photo or a short story—to make it feel genuine.
End with a clear call to action, like inviting them to subscribe or leave a comment.
How To Promote It
Don't just hit publish and hope for the best. Share the post across your social media channels, and if you have an email list, send a dedicated launch announcement. Consider tagging a few friends or influencers in your niche to spread the word.
Make it feel like a celebration—use excited language and maybe even a small giveaway to encourage shares.
Schedule For Maximum Impact
Use your blogging platform's scheduling feature to set the post to go live at a time when your target audience is most active. This might be early morning or evening depending on your niche. Scheduling frees you up to respond to comments and engage with readers in real time, which makes the launch feel more interactive and lively.
17. Test Everything Before You Go Live
You’ve built your blog, written posts, and set up all the bells and whistles. But before you hit publish, take a step back and test everything. A broken link or a form that doesn’t work can frustrate your first visitors and make you look unprofessional.
A little testing now saves embarrassment later.
Go through your blog like a first-time visitor. Click every link, fill out every form, and check that pages load correctly on both mobile and desktop. Use tools like Google PageSpeed Insights to test loading speed.
Then ask a friend or family member to browse and give honest feedback. Fix any issues before you announce your launch.
Check Links And Forms
Manually click all internal and external links to ensure they go where they should. Submit your contact form, comment form, and any email signup forms to confirm they work and deliver responses to the right inbox.
Test On Mobile And Desktop
Open your blog on a phone, tablet, and laptop. Check that text is readable, buttons are tappable, and images resize properly. A responsive design is non-negotiable for today’s readers.
Get A Fresh Pair Of Eyes
Ask someone who hasn’t seen your blog before to explore it. They’ll notice things you’ve become blind to—like a confusing menu or a typo in your bio. Take their feedback seriously and make improvements.
FAQ
How much does it cost to start a blog?
You can start a blog for under $100 per year. Domain names cost about $12/year, and shared hosting starts around $3-10/month. Many themes and plugins are free.
Do I need to be a good writer to blog?
Not at all. Blogging is about sharing useful information in a conversational tone. Practice helps, but clarity and authenticity matter more than perfect grammar.
How often should I publish new posts?
Consistency is key. Start with once a week and adjust based on your schedule. Quality over quantity—one great post per week is better than five rushed ones.
Should I focus on SEO from the start?
Yes, but keep it simple. Use an SEO plugin, write descriptive titles, and include keywords naturally. SEO is a long-term game, so start early.
How do I get my first readers?
Share your posts on social media, join niche communities, and engage with other bloggers. Email marketing also helps. Be patient—growth takes time.
Conclusion
You don't need to check off every item on this list before hitting publish. Pick the three that feel most urgent—like setting up analytics or writing your first post—and launch this week.
Your blog will improve as you go, but it can't grow if it never goes live.
Free PDF Download
Not Sure Which Side Hustle Fits You Best?
Take the free Side Hustle Matchmaker Quiz and get a simple 7-day starter plan to help you choose a beginner-friendly idea based on your time, skills, comfort level, and goals.
You’ll get this free PDF plus access to the full Marketerna Save More & Earn More PDF Kit. No spam. Unsubscribe anytime.