
15 Frugal Cleaning Tips for the Home
A clean home doesn't have to come with a hefty price tag. You can ditch expensive specialty cleaners and still get sparkling results. These 15 frugal cleaning tips rely on simple ingredients you probably already have in your pantry.
Think vinegar, baking soda, lemon, and a little elbow grease. That's really all you need to tackle almost any mess. Ready to save money and clean smarter?
Let's dive in. From kitchen grease to bathroom grime, these budget-friendly tricks will transform your routine. No more buying a different bottle for every surface—just pure, effective cleaning power.

Free PDF Download
Not Sure Which Side Hustle Fits You Best?
Take the free Side Hustle Matchmaker Quiz and get a simple 7-day starter plan to help you choose a beginner-friendly idea based on your time, skills, comfort level, and goals.
You’ll get this free PDF plus access to the full Marketerna Save More & Earn More PDF Kit. No spam. Unsubscribe anytime.
1. All-Purpose Cleaner from Vinegar and Water
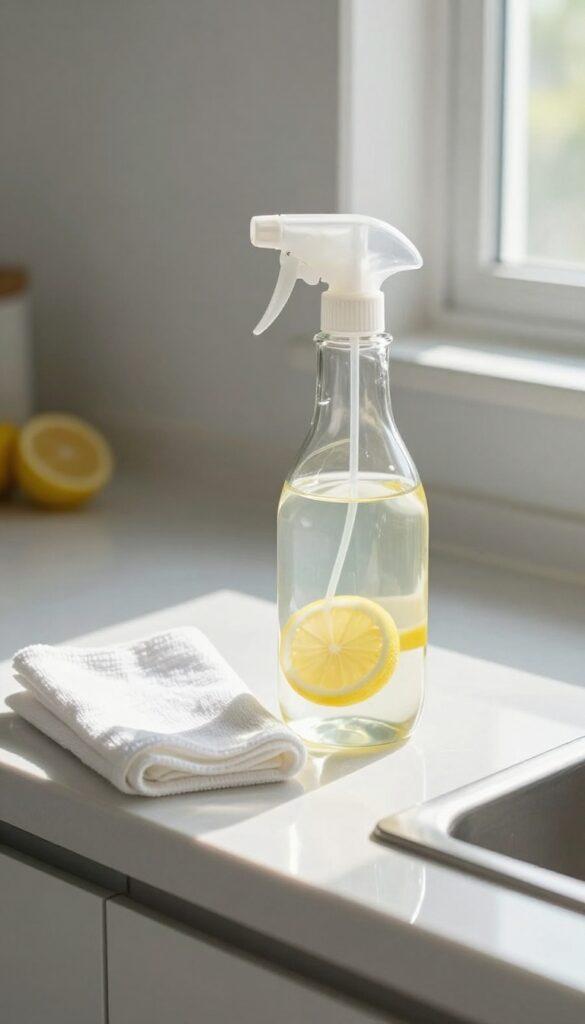
You don't need a cabinet full of pricey sprays to keep your home clean. A simple mix of vinegar and water handles most surfaces with ease. It cuts through grease, removes grime, and leaves glass streak-free.
Combine equal parts white vinegar and water in a spray bottle. Shake gently, and you're ready to go. Add a few drops of lemon or lavender essential oil if you want a fresh scent without harsh chemicals.
Where It Works Best
Use it on countertops, windows, mirrors, and sealed floors. It's great for kitchen counters after meal prep and bathroom sinks. Avoid using it on natural stone like granite or marble, as the acid can etch the surface.
Tips For Best Results
Spray directly onto the surface and wipe with a microfiber cloth for a lint-free shine. For tough spots, let the solution sit for a minute before wiping. Always test on a small hidden area first.
2. Baking Soda Scrub for Tough Stains
Baking soda is a powerhouse cleaner that costs pennies. When mixed with a little water, it turns into a gentle abrasive paste that cuts through baked-on grease, soap scum, and stubborn stains without scratching surfaces. This scrub works wonders on sinks, tubs, and stovetops, and it's completely non-toxic.
To make the paste, combine three parts baking soda with one part water in a small bowl. Stir until it forms a thick, spreadable consistency. Apply it directly to the stain, let it sit for 5–10 minutes, then scrub with a damp sponge or soft brush.
Rinse thoroughly and wipe dry. For extra stubborn spots, add a splash of white vinegar to the paste—it will fizz and help lift grime.
Best Surfaces For Baking Soda Scrub
This scrub is safe for ceramic sinks, porcelain tubs, stainless steel, and glass stovetops. Avoid using it on soft plastics, polished marble, or aluminum, as it can be too abrasive. Always test a small hidden area first.
How To Boost Its Cleaning Power
For greasy stovetops, add a few drops of dish soap to the paste. For bathroom mildew, mix in a little hydrogen peroxide instead of water. Let the paste sit longer—up to 15 minutes—for dried-on messes.
Storage And Reuse Tips
Make only as much paste as you need for one cleaning session—it doesn't store well. But you can keep a box of baking soda under the sink and whip up a fresh batch anytime. A little goes a long way, so start with a tablespoon and add more as needed.
Free PDF Download
Not Sure Which Side Hustle Fits You Best?
Take the free Side Hustle Matchmaker Quiz and get a simple 7-day starter plan to help you choose a beginner-friendly idea based on your time, skills, comfort level, and goals.
You’ll get this free PDF plus access to the full Marketerna Save More & Earn More PDF Kit. No spam. Unsubscribe anytime.
3. Lemon Juice for Grease and Shine
Lemons aren't just for lemonade—they're a secret weapon against kitchen grease. The natural acidity cuts through stubborn buildup on stovetops, countertops, and cutting boards without harsh chemicals. Plus, you get that fresh citrus scent for free.
One lemon can replace multiple cleaning products. It's cheap, biodegradable, and leaves surfaces gleaming. No need for expensive degreasers when nature's own solution is sitting in your fruit bowl.
Using lemon juice is one of the simplest frugal cleaning tricks. Just cut a lemon in half and rub it directly on greasy areas. The acid breaks down grease while the juice adds shine.
For tougher spots, sprinkle a little salt on the lemon half for gentle abrasion. Rinse with water afterward, and you're done. Your kitchen will smell amazing, and you'll save money on commercial cleaners.
It's also safe for most surfaces, though avoid prolonged contact with marble or granite to prevent etching.
How It Works
Lemon juice contains citric acid, a natural degreaser that dissolves oil and grime. When you rub a cut lemon on a greasy stovetop, the acid breaks the bonds between grease and the surface. The juice then lifts the residue, making it easy to wipe away.
Plus, the antibacterial properties help sanitize as you clean.
Best Uses
Lemon works wonders on stainless steel sinks, faucets, and cooktops. It's also great for removing sticky residue from jars or labels. For cutting boards, rub lemon over the surface to eliminate odors and stains.
You can even use it to brighten white plastic or ceramic dishes.
Tips For Best Results
Always test on a small hidden area first, especially on sealed surfaces. For extra cleaning power, dip the lemon half in baking soda before scrubbing. This creates a gentle paste that tackles tough grime.
Rinse thoroughly after cleaning to avoid any sticky residue from the natural sugars in the lemon.
4. Microfiber Cloths Instead of Paper Towels
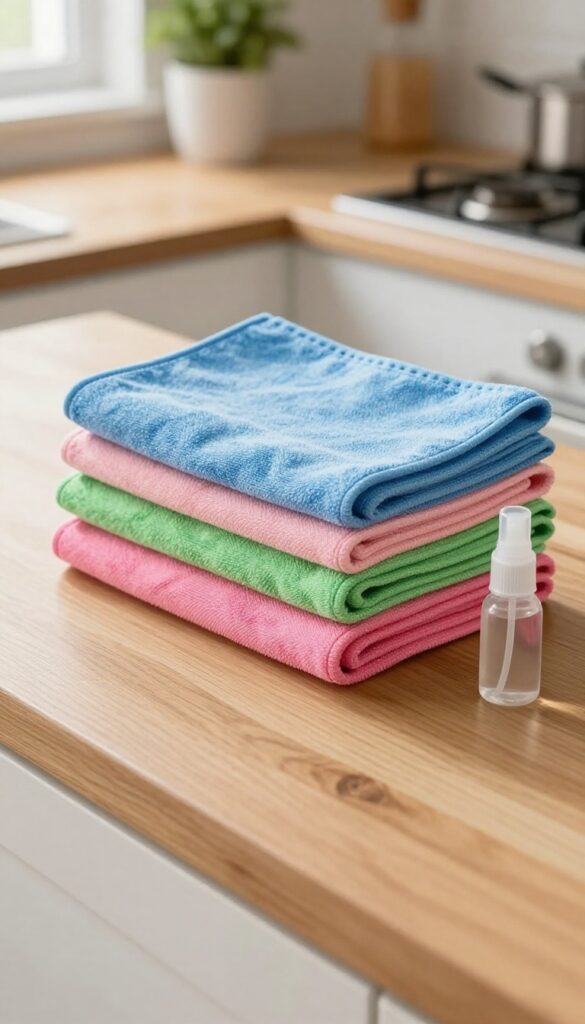
Paper towels are convenient, but they're also expensive and wasteful. Every roll you buy adds up, and most end up in the trash after a single use. Switching to microfiber cloths is one of the easiest swaps you can make for a greener, cheaper cleaning routine.
These little cloths trap dust and grime like magic, and they last for years.
Invest in a pack of microfiber cloths—they trap dust and dirt better than paper towels and can be washed and reused hundreds of times, saving money and waste.
Why Microfiber Works Better
Microfiber is made of ultra-fine fibers that create a static charge, pulling in dust, pet hair, and even bacteria. Unlike paper towels that just push dirt around, microfiber actually lifts and holds onto particles. You'll notice surfaces stay cleaner longer.
How To Use And Care For Them
Use different colors for different rooms to avoid cross-contamination. After cleaning, toss them in the washing machine with warm water and a little detergent. Avoid fabric softener—it clogs the fibers and reduces effectiveness.
Air dry or tumble dry on low.
The Cost Savings Add Up
A pack of 24 microfiber cloths costs about the same as a 12-pack of paper towels. But those cloths can be reused hundreds of times. You'll save dozens of dollars each year and keep tons of paper waste out of landfills.
Free PDF Download
Not Sure Which Side Hustle Fits You Best?
Take the free Side Hustle Matchmaker Quiz and get a simple 7-day starter plan to help you choose a beginner-friendly idea based on your time, skills, comfort level, and goals.
You’ll get this free PDF plus access to the full Marketerna Save More & Earn More PDF Kit. No spam. Unsubscribe anytime.
5. DIY Glass Cleaner with Cornstarch
Commercial glass cleaners often leave behind a sticky residue or cost more than they should. This homemade version uses cornstarch to cut through grime without streaks. It's cheap, easy to mix up, and works on windows, mirrors, and even stainless steel.
Why Cornstarch?
Cornstarch acts as a mild abrasive that helps lift dirt and polish the surface. It also prevents the cleaner from evaporating too quickly, giving you more time to wipe away streaks. Combined with vinegar and alcohol, it creates a powerful, streak-free finish.
How To Mix And Use
In a spray bottle, combine 1/4 cup white vinegar, 1/4 cup rubbing alcohol, 1 tablespoon cornstarch, and 2 cups water. Shake well before each use because the cornstarch settles. Spray onto glass, then wipe with a microfiber cloth or crumpled newspaper for a crystal-clear shine.
Tips For Best Results
Avoid cleaning windows in direct sunlight—the solution dries too fast and leaves streaks. Use a lint-free cloth to prevent fuzz. If you're tackling a greasy kitchen window, add a drop of dish soap to the mix.
6. Use Old Socks as Dusting Gloves
Before you toss that lonely sock with a missing mate, give it a second life as a dusting glove. It's one of the simplest swaps you can make—and it works surprisingly well. The soft fabric grabs dust without scratching, and you can wash and reuse it over and over.
Slip a clean old sock over your hand and you've got a built-in duster that reaches into tight spots. Use it on blinds, shelves, lamp shades, and delicate decor. When you're done, just peel it off and toss it in the laundry.
No more disposable dusters or expensive microfiber cloths.
Perfect For Blinds And Shutters
Dusting each slat individually is tedious. With a sock on your hand, you can run your fingers along each slat in one smooth motion. The fabric grabs dust from both sides at once.
It's faster and more thorough than a rag.
Gentle On Delicate Surfaces
Worried about scratching a finish? Cotton socks are soft enough for antiques, electronics, and knickknacks. They won't leave lint behind, either.
Just make sure the sock is clean and free of any rough patches.
Easy To Wash And Reuse
Unlike disposable dusters, a sock can be used dozens of times. Throw it in with your regular laundry, and it's ready to go again. Keep a few designated dusting socks in your cleaning caddy so you always have one handy.
7. Vinegar Soak for Showerheads
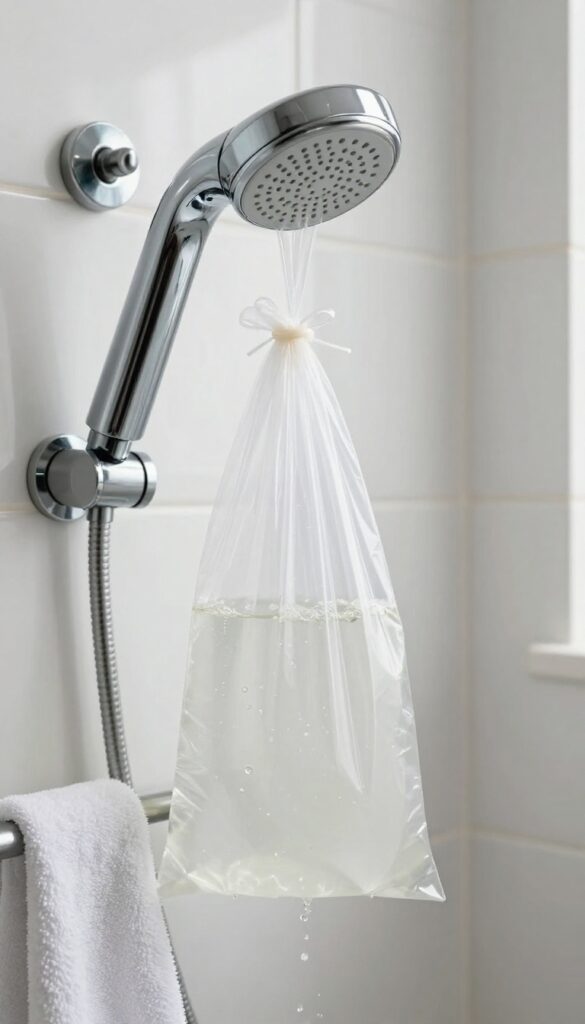
Is your showerhead spraying water in every direction except where you want it? That's likely mineral buildup clogging the nozzles. Instead of replacing the head or buying a pricey descaler, grab a bottle of white vinegar and a plastic bag.
This overnight soak costs pennies and works like magic.
Hard water leaves calcium and lime deposits inside your showerhead, reducing water flow and pressure. Vinegar's acidity dissolves those minerals without scrubbing. Just fill a sturdy plastic bag with enough white vinegar to submerge the showerhead, secure it with a rubber band or twist tie, and let it sit overnight.
In the morning, remove the bag and run the water for a minute to flush out any loosened debris. Your shower will feel like new.
What You'll Need
White vinegar (plain, not diluted), a large zip-top or grocery bag, a rubber band or strong twist tie, and an old towel to catch drips. That's it. No fancy tools required.
Step-by-step Soak
Fill the bag halfway with vinegar. Lift it over the showerhead so the head is fully submerged. Secure the bag tightly with a rubber band just above the connection.
Place a towel underneath to catch any drips. Leave it for at least 6 hours or overnight. Remove the bag and run hot water for a minute to clear the vinegar.
Extra Tips For Stubborn Buildup
If your showerhead has heavy deposits, scrub the nozzles gently with an old toothbrush after soaking. For plastic showerheads, limit the soak to 30 minutes to avoid damage. Repeat every few months to prevent buildup from returning.
8. Baking Soda and Vinegar for Drains
Clogged drains are frustrating, but you don't need harsh chemicals to fix them. A simple combo of baking soda and vinegar can clear minor blockages and keep your pipes smelling fresh. This dynamic duo works by creating a fizzy reaction that breaks down gunk and grease.
It's cheap, non-toxic, and something you can do right now with pantry staples.
Pour 1/2 cup baking soda down the drain, followed by 1/2 cup vinegar. Cover the drain with a plug or cloth to contain the fizz. Let it sit for 15 minutes, then flush with boiling water.
This natural combo clears clogs and deodorizes without damaging your pipes.
Why It Works
The chemical reaction between baking soda (a base) and vinegar (an acid) produces carbon dioxide gas. This bubbling action helps dislodge debris like hair and soap scum. The hot water rinse washes away the loosened grime.
When To Use It
This method works best for slow drains or mild clogs. For completely blocked drains, you may need a plunger or plumber's snake. Use it weekly as a preventive measure to keep drains fresh and free-flowing.
Pro Tips
Always use boiling water, not just hot tap water, for the final flush. If the drain still smells after treatment, repeat the process. Avoid using this method after trying a chemical drain cleaner, as mixing can cause dangerous fumes.
9. Toothbrush for Grout and Crevices
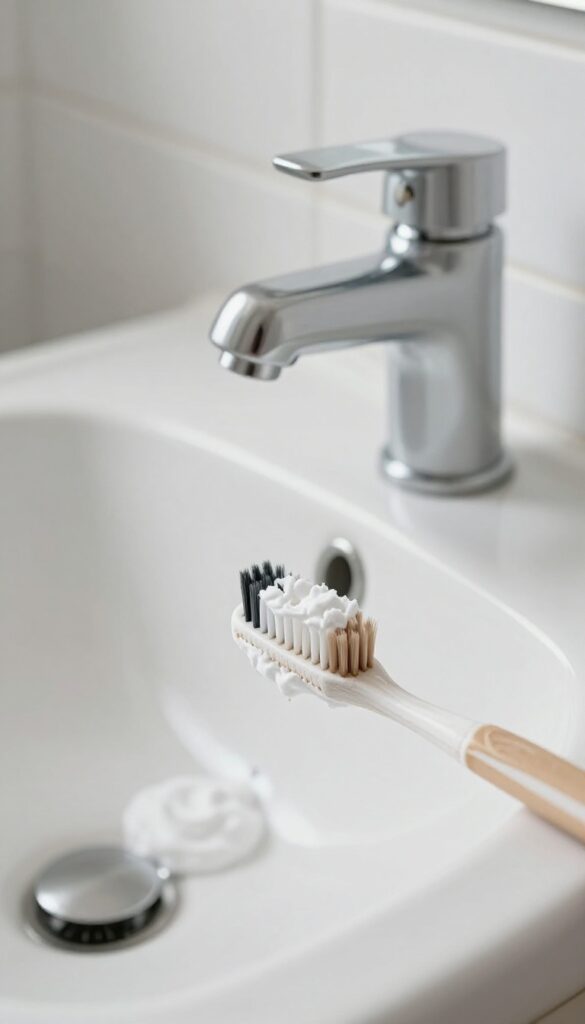
Don't throw away that old toothbrush when it's time for a new one. It's actually one of the best tools for getting into tight spaces where sponges and cloths just can't reach. Grout lines, faucet bases, and the edges of light switches are no match for a stiff-bristled toothbrush.
An old toothbrush is perfect for scrubbing grout lines, faucet bases, and other tight spots. Dip it in a paste of baking soda and water for extra cleaning power. The bristles get deep into crevices, lifting dirt and grime without scratching surfaces.
Make A Baking Soda Paste
Mix three parts baking soda with one part water to form a thick paste. Apply it to the area you want to clean, then scrub with the toothbrush. Let it sit for a few minutes before rinsing for tougher stains.
Target The Right Spots
Use the toothbrush on grout lines, around faucet handles, along sink edges, and on stove burner grates. It also works well for cleaning the crevices of kitchen gadgets like can openers or cheese graters.
Sanitize After Use
Rinse the toothbrush thoroughly and soak it in a cup of white vinegar for 30 minutes to kill bacteria. Let it air dry before storing it for next time.
10. Salt as a Gentle Scouring Agent
Salt isn't just for seasoning your food—it's a surprisingly effective abrasive cleaner. Its coarse texture helps scrub away stubborn grime without damaging most surfaces. Plus, it's cheap and non-toxic.
For tough baked-on food on pans or dried stains on countertops, sprinkle a generous amount of salt onto a cut lemon half or a damp sponge. The salt provides gentle friction while the lemon's acidity cuts through grease. Scrub in circular motions, then rinse clean.
It works wonders on cast iron, stainless steel, and ceramic cookware.
Best Uses For Salt Scrubbing
Salt is ideal for cleaning cutting boards, removing coffee or tea stains from mugs, and scrubbing burnt-on residue from pots. It's also great for polishing copper and brass—just mix with vinegar for a natural shine.
Surfaces To Avoid
Skip salt on soft, porous surfaces like marble, granite, or unsealed stone, as it can scratch or etch them. Stick to non-porous materials like glass, ceramic, and most metals.
Pro Tip: Boost With Essential Oils
Add a few drops of lemon or tea tree essential oil to your salt scrub for extra antibacterial power and a fresh scent. This turns a simple cleaner into a spa-like experience.
11. Reuse Dryer Sheets for Dusting
Dryer sheets work hard in the laundry room, but they don't have to retire after one cycle. Those used sheets are still packed with anti-static power, making them perfect for dusting. They attract and hold dust instead of just pushing it around, and they help repel future dust buildup.
It's a simple swap that saves money and cuts down on waste.
Grab a used dryer sheet from the lint trap and use it to dust electronics, baseboards, and blinds. The anti-static properties reduce static cling, so dust doesn't settle back as quickly. For best results, use a slightly damp sheet on sticky messes, then follow up with a dry one to buff surfaces clean.
Why Dryer Sheets Work So Well
Dryer sheets are coated with fabric softener that contains anti-static agents. When you dust with them, those agents transfer to the surface, neutralizing static charge. This means dust particles are less likely to stick, keeping your surfaces cleaner longer than a dry cloth would.
Where To Use Them (and Where Not To)
They're great for TV screens, computer monitors, lampshades, blinds, and baseboards. Avoid using them on glass or mirrors, as the residue can leave streaks. Also skip unsealed wood, because the chemicals may damage the finish over time.
How To Get The Most Out Of Each Sheet
One used sheet can handle several dusting sessions before losing its effectiveness. Store them in a zippered bag or container near your cleaning supplies. When the sheet no longer picks up dust or feels dry, toss it and grab a fresh used one from the laundry.
12. Hydrogen Peroxide for Disinfecting
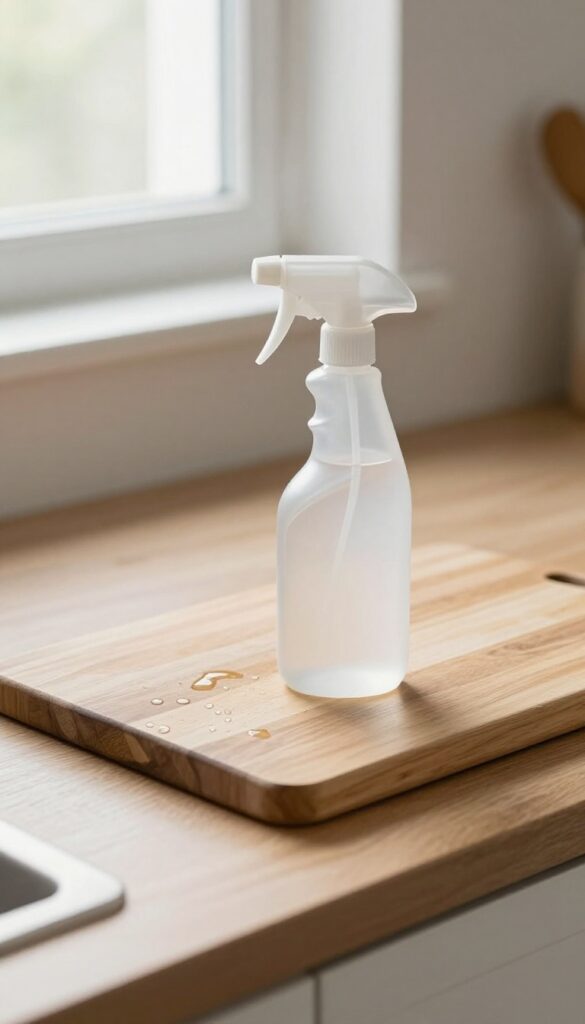
Hydrogen peroxide is a powerful disinfectant that costs pennies per use. Unlike bleach, it breaks down into water and oxygen, making it safer for your family and the environment. A simple spray bottle of 3% hydrogen peroxide can replace most chemical disinfectants in your home.
Pour 3% hydrogen peroxide into a spray bottle and use it to disinfect cutting boards, countertops, and bathroom surfaces. It's a cheap, chemical-free alternative to bleach.
How It Works
Hydrogen peroxide kills bacteria, viruses, and mold by releasing oxygen bubbles that break down their cell walls. It's effective against common germs like E. coli and salmonella, and it's safe for most surfaces.
Best Uses Around The Home
Spray it on cutting boards after washing to kill bacteria, especially after handling raw meat. Use it on kitchen countertops, bathroom sinks, and toilet surfaces. Let it sit for 5–10 minutes, then wipe clean.
Safety Tips
Keep it in its original brown bottle or a dark spray bottle, because light breaks down hydrogen peroxide. Test on a small area first, especially on colored grout or fabrics, as it may have a mild bleaching effect.
13. Olive Oil for Wood Polish
Commercial wood polishes often contain petroleum distillates and synthetic fragrances that aren't great for your lungs or your furniture. You can skip those pricey bottles and make a natural polish with two pantry staples: olive oil and lemon juice. This simple mix conditions the wood, restores shine, and leaves a fresh citrus scent—no harsh chemicals required.
Olive oil is a natural moisturizer for wood, helping to revive dried-out surfaces and hide minor scratches. Lemon juice cuts through grime and adds antibacterial properties. Together, they create a gentle yet effective polish that's safe for finished wood furniture, cutting boards, and even wooden utensils.
Best of all, it costs pennies per use.
The Perfect Ratio
Mix 1/4 cup of olive oil with 2 tablespoons of fresh lemon juice in a small bowl. Stir well. That's it.
You can double or halve the recipe depending on how much you need. Use within a few days, as the lemon juice can turn rancid over time.
How To Apply
Dip a soft, lint-free cloth into the mixture and wring out any excess. Rub it onto the wood in the direction of the grain, working in small sections. Let it sit for a minute, then buff with a clean dry cloth until the surface shines.
Avoid soaking the wood—a light coat is all you need.
Which Woods Work Best?
This polish is ideal for sealed or finished wood like oak, maple, cherry, and walnut. It's not recommended for unsealed or raw wood, as the oil can cause dark spots. Always test on a hidden area first.
Use it on tables, chairs, cabinets, and even wooden picture frames.
14. Steam Clean with Microwave Steam
Microwaves can get pretty gross—splattered sauce, dried-on cheese, mysterious crusty bits. But you don't need harsh chemicals or endless scrubbing to clean them. A simple steam trick does the heavy lifting for you.
Place a bowl of water with a few lemon slices inside the microwave. Run it on high for 3 minutes. The steam loosens every bit of stuck-on food, and the lemon leaves a fresh scent.
Let it sit for a minute after the timer goes off so the steam really works its magic.
Why It Works
Steam softens dried residue without any scrubbing. The lemon adds natural degreasing power and cuts odors. No chemicals, no elbow grease—just heat and water.
How To Do It Right
Use a microwave-safe bowl filled halfway with water. Add 3–4 lemon slices (or a splash of vinegar if you're out of lemons). Microwave on high for 3 minutes.
Let the door stay closed for another minute, then wipe everything clean with a damp cloth.
Bonus Tip
This trick also freshens up the whole microwave. If you have stubborn spots, dip your cloth in the leftover lemon water for extra cleaning power. Rinse with plain water afterward.
15. Make Your Own Laundry Detergent
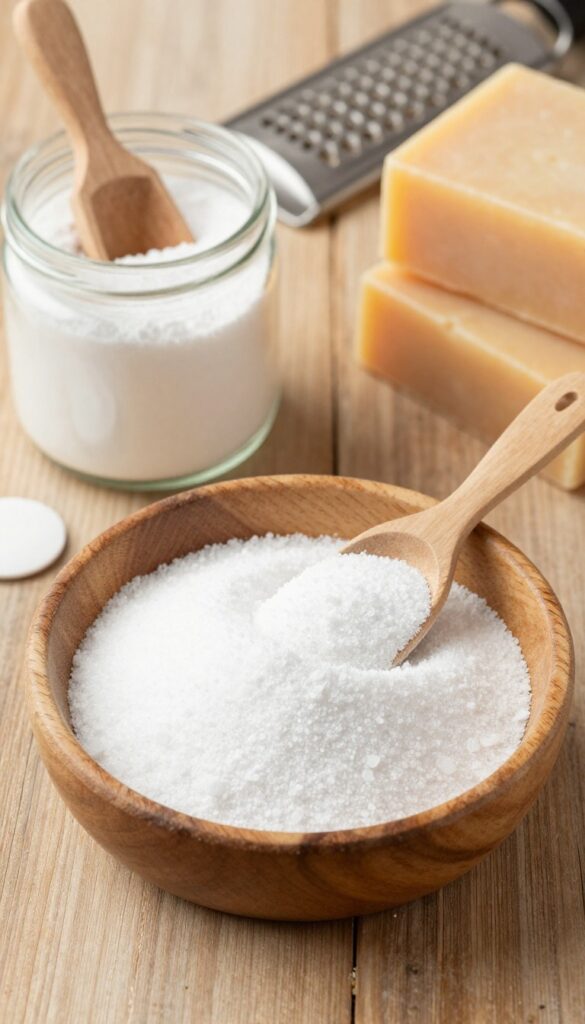
Store-bought laundry detergent can be shockingly expensive, especially if you have a large family or do frequent loads. The good news is that making your own detergent is incredibly simple and costs just pennies per load. With only three ingredients, you can create a powerful cleaner that leaves clothes fresh and clean without any harsh chemicals or fragrances.
What You'll Need
You only need three items: a bar of soap (Fels-Naptha is a classic choice, but any plain bar soap works), washing soda, and borax. These are all available at most grocery stores or online for very little money. A single batch will last for months.
How To Make It
Start by grating the entire bar of soap into fine flakes using a cheese grater or food processor. Then mix the soap flakes with 1 cup of washing soda and 1 cup of borax in a large bowl. Stir well to combine, then store the powder in an airtight container.
Use 1 to 2 tablespoons per load—yes, that's all you need.
Tips For Best Results
This detergent works best in warm or hot water, but it also performs well in cold water if you dissolve it first in a little warm water. For extra stain-fighting power, rub a little of the grated soap directly onto stains before washing. And don't worry about residue—this formula rinses cleanly, even in high-efficiency machines.
FAQ
Are these frugal cleaning tips safe for all surfaces?
Most are safe for common surfaces, but always test a small hidden area first. Avoid vinegar on natural stone like granite or marble, as the acid can etch the surface.
Can I use these tips if I have pets or children?
Yes, these natural ingredients are generally safer than commercial cleaners. However, keep pets away from vinegar and essential oils in high concentrations, and store all solutions out of reach.
How much money can I save by using DIY cleaners?
You can save 50-80% compared to buying brand-name cleaners. A bottle of vinegar costs under a dollar and can make multiple cleaners, while baking soda is also very cheap.
Do homemade cleaners work as well as store-bought ones?
For most everyday messes, yes. They may require a bit more elbow grease for tough stains, but they are highly effective for routine cleaning and disinfecting when used correctly.
How long do homemade cleaning solutions last?
Most mixtures last 1-2 months if stored in a cool, dark place. Shake before each use. For best results, make small batches and use them up within a few weeks.
Conclusion
Keeping a clean home doesn't have to mean spending a fortune on specialty products. With a few basic ingredients like vinegar, baking soda, and lemons, you can tackle almost any mess effectively and naturally. These 15 frugal cleaning tips prove that simple solutions often work best.
Plus, you'll reduce waste and avoid harsh chemicals. Start with one or two tips, and you'll soon wonder why you ever bought expensive cleaners in the first place.
Free PDF Download
Not Sure Which Side Hustle Fits You Best?
Take the free Side Hustle Matchmaker Quiz and get a simple 7-day starter plan to help you choose a beginner-friendly idea based on your time, skills, comfort level, and goals.
You’ll get this free PDF plus access to the full Marketerna Save More & Earn More PDF Kit. No spam. Unsubscribe anytime.