12 Easy Ways to Build an Email List for Your Blog
You publish great posts, but nobody sticks around long enough to hear from you again. Without an email list, every reader who leaves is a reader you might never get back.
The fix isn't complicated, and it doesn't require a marketing degree. Below are 12 easy ways to start collecting emails from your blog, from a simple sidebar form to a free email course.
Each one takes an afternoon or less to set up. Pick a few that fit your blog, try them out, and watch your list grow.
Free PDF Download
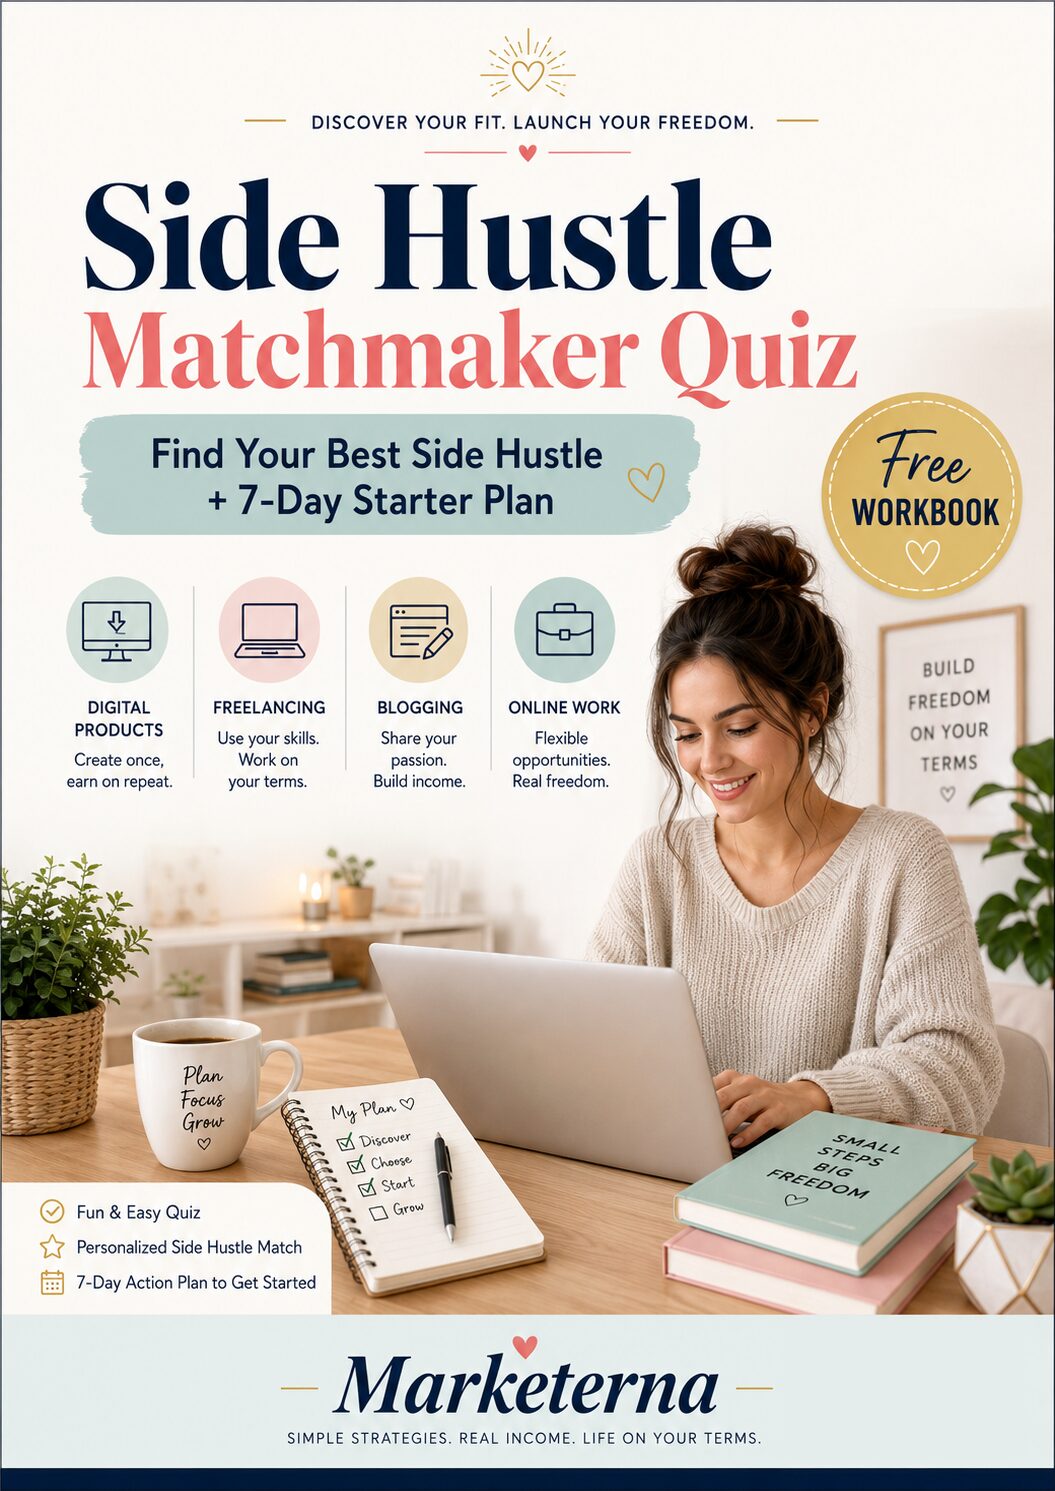
Not Sure Which Side Hustle Fits You Best?
Take the free Side Hustle Matchmaker Quiz and get a simple 7-day starter plan to help you choose a beginner-friendly idea based on your time, skills, comfort level, and goals.
You’ll get this free PDF plus access to the full Marketerna Save More & Earn More PDF Kit. No spam. Unsubscribe anytime.
1. Add a Simple Signup Form to Your Sidebar
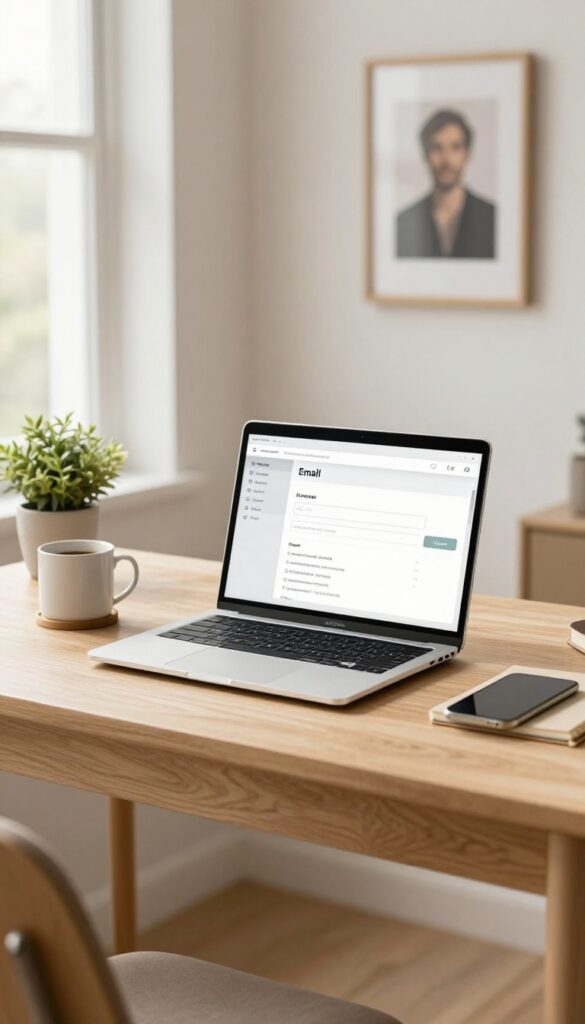
Your sidebar is prime real estate. It follows readers down the page on most blog layouts, which means your signup form gets seen again and again without you doing anything. That quiet repetition is exactly why this method works so well.
The goal here isn't to shout at people. It's to make signing up feel like an easy, obvious option for the readers who already like what you write. A clean form in a familiar spot does that better than a flashy popup ever will.
Set it up once, and it keeps collecting emails while you sleep. Let's walk through how to do it right.
Keep It Clean And Obvious
Your form needs one job: get the email. So ask for the email and nothing else. Skip the name field, the phone number, and the dropdown asking how they found you.
Every extra box is another reason to bail. A single email field plus a button is the whole thing. Make the button say something real.
"Subscribe" works, but "Get New Posts" or "Join the List" tells people what they're actually getting.
Put It Where Eyes Land
Place the form near the top of your sidebar, right under your photo or about blurb. That's the first spot most readers look. If your sidebar is long, you can also add a second copy further down.
Just don't stack three forms in a row, or it starts to feel desperate. On mobile, check that the form still shows up somewhere sensible. A lot of themes push the sidebar to the bottom, so test it on your phone before you call it done.
Write A Reason To Sign Up
A form by itself is boring. Give it a one-line pitch above the field. Something like "Get one useful post in your inbox each week" beats a blank box every time.
Tell readers what lands in their inbox and how often. Keep that line short enough to read in a glance. If it takes more than a few seconds to understand, it's too long.
Match It To Your Blog
Your form should look like it belongs. Use the same colors and fonts as the rest of your site. Most email tools let you tweak the button color and field style without touching code.
Spend ten minutes on this and it'll blend right in. A form that clashes with your design feels like an ad. A form that matches feels like part of the page, and people trust those more.
2. Create a Content Upgrade for Your Popular Posts
Your most popular posts already attract readers who are interested in that specific topic. A content upgrade gives those readers a bonus resource that expands on what they just read. It's a simple trade: they get something useful, you get their email address.
The key is to make the upgrade directly relevant to the post. If someone just read a tutorial on meal prep, a downloadable grocery list or weekly planner feels like a natural next step. That relevance is what drives conversions.
Find Your Best Candidates
Look at your analytics to see which posts get the most traffic. Then ask: what would make this post even more actionable? A checklist, template, or swipe file that saves time or removes a step works well.
Design A Quick Opt-in
Use a simple form or a tool like a popup or inline box. Keep the copy short and focused on the benefit. For example: 'Get the free checklist' or 'Download the template. '
Deliver It Automatically
Set up an email automation that sends the upgrade as soon as someone subscribes. That way you don't have to manually send files, and new subscribers get instant gratification.
Free PDF Download
Not Sure Which Side Hustle Fits You Best?
Take the free Side Hustle Matchmaker Quiz and get a simple 7-day starter plan to help you choose a beginner-friendly idea based on your time, skills, comfort level, and goals.
You’ll get this free PDF plus access to the full Marketerna Save More & Earn More PDF Kit. No spam. Unsubscribe anytime.
3. Offer a Free Email Course as a Lead Magnet
A free email course gives readers a reason to hand over their email address beyond just 'stay updated. ' It promises a specific outcome in a set timeframe, like five days to better photos or a week to start a blog. That structure turns casual visitors into subscribers who actually look forward to your emails.
The beauty of an email course is that it's bite-sized. You don't need a 50-page ebook or a webinar. You just need to break a topic you already know into five daily lessons.
Each lesson should be short, actionable, and end with a small win.
Pick A Topic That Solves One Problem
Choose something your audience struggles with and that you can teach in a week. For a food blog, it could be '5 Days to Stress-Free Meal Prep. ' For a fitness site, '5 Days to Your First Pull-Up. ' The narrower the better—it's easier to deliver and easier for readers to say yes to.
Write Five Short Lessons
Each email should take about five minutes to read and include one clear action. Day 1: the basics. Day 2: a common mistake.
Day 3: a simple tool or technique. Day 4: a case study or example. Day 5: next steps and a soft pitch for your paid offer.
Keep it conversational and helpful.
Set Up Delivery And Signup
Use your email service provider to create an automated sequence. Then add a signup form on your blog—a banner, a popup, or a dedicated landing page. Write a clear call to action: 'Get the free 5-day course. ' Once it's live, promote it in your posts and on social media.
4. Host a Giveaway with an Email Entry Requirement
Giveaways work because people love free stuff, and they'll gladly trade an email address for a shot at winning. The key is making the entry process dead simple and the prize relevant to your audience. When done right, a single giveaway can add hundreds of subscribers in a few days.
Pick a prize that your ideal reader actually wants. If you blog about fitness, a set of resistance bands or a meal plan PDF makes sense. For a food blog, a gift card to a kitchen store or a signed cookbook works well.
The prize doesn't have to be expensive—it just has to be something your people would be excited to win.
Choose The Right Prize
Skip generic gift cards unless they're tied to your niche. A $50 Amazon card is fine, but a $50 Amazon card for a book blog feels random. Instead, offer something that screams your topic: a course, a coaching call, a bundle of products, or a tool your readers already use.
The more specific, the better the quality of subscribers you'll attract.
Set Up Easy Entry
Use a simple giveaway tool like Gleam, Rafflecopter, or a basic form from your email provider. Require an email address as the main entry, and offer bonus entries for sharing on social media. Don't ask for too much info—every extra field lowers your conversion rate.
Keep it to name and email, and you'll get more sign-ups.
Promote It Everywhere
Announce the giveaway in a blog post, then link to it from your sidebar, a pop-up, and your social channels. Email your existing list and ask them to share it with friends. The more places people see it, the more entries you'll get.
Run it for one to two weeks—long enough to gain momentum, short enough to stay exciting.
Free PDF Download
Not Sure Which Side Hustle Fits You Best?
Take the free Side Hustle Matchmaker Quiz and get a simple 7-day starter plan to help you choose a beginner-friendly idea based on your time, skills, comfort level, and goals.
You’ll get this free PDF plus access to the full Marketerna Save More & Earn More PDF Kit. No spam. Unsubscribe anytime.
5. Use a Popup with Smart Exit Intent

A popup that appears the moment someone moves their cursor toward the close button feels like a last-ditch effort. But when it's timed right, it can be the nudge that turns a bouncing visitor into a subscriber. The trick is using exit intent technology, which detects when someone is about to leave and only then shows your offer.
Most popups fail because they interrupt too early. Exit intent flips that by waiting until the visitor has already decided to go. At that point, you have one last chance to give them a reason to stay connected.
Done well, it feels helpful rather than pushy.
Pick An Offer That Stops The Scroll
A generic 'subscribe to my newsletter' won't cut it here. Offer something specific they can use right away, like a checklist, a template, or a mini guide. The more relevant it is to the page they're leaving, the better it works.
Keep The Design Simple And Fast
Your popup should load instantly and look clean on mobile. Use a clear headline, one short line of copy, and a single email field. Too many options or images will kill the conversion.
Set Smart Rules To Avoid Annoyance
Show the popup only once per visitor, and never on your thank-you or checkout pages. You can also exclude people who already subscribed. That way, you're not chasing away loyal readers.
6. Add a Call-to-Action to Your Blog Post Footer
Your blog post footer is the last thing readers see before they click away. It's also the easiest place to invite them back. Instead of letting the post end with a blank space or a generic 'Related Posts' widget, use that spot to ask for their email.
The key is to keep it friendly and relevant. Don't just say 'Subscribe to my newsletter. ' Tell them what they'll get if they do. A simple line like 'Enjoyed this?
Get more tips like this in your inbox' works because it connects directly to what they just read. This takes about five minutes to set up. Most blogging platforms let you add a form or a button to your post footer, and you can customize the message for each post if you want.
The footer CTA works because it catches people when they're already engaged. They just finished your post, so they're likely interested in more. A clear, low-pressure invite can turn a one-time visitor into a subscriber.
You don't need to be pushy. A simple sentence and a signup form is enough. The goal is to make it easy for them to say yes.
Write A Cta That Matches The Post
Generic CTAs get ignored. If your post is about growing tomatoes, your footer should say something like 'Want more organic gardening tips? Join my email list. ' That feels personal and relevant.
You can also use a short teaser: 'I send one helpful email a week. No spam, just good stuff. ' Keep it conversational and specific to the topic.
Make The Signup Form Simple
Don't ask for too much. A first name and email address is plenty. The more fields you add, the fewer people will fill them out.
Place the form right below your CTA text. If your platform supports it, use a single-click subscribe button that pulls their info automatically. The easier it is, the more signups you'll get.
Test Different Placements
Some blogs do better with the CTA right after the last paragraph. Others see more action when it's after the related posts. Try both and see what your readers respond to.
You can also experiment with the wording. Sometimes a simple 'Get more posts like this' outperforms a longer pitch. Track your results and keep what works.
7. Leverage Guest Posting to Drive Traffic to a Landing Page
Guest posting puts your name in front of an audience that's already interested in your topic. But if you just link back to your homepage, you're wasting that traffic. Instead, send readers to a dedicated landing page built to collect emails.
That way, even if they don't stick around to read your latest post, you still get a chance to stay in touch.
The key is to make the landing page feel like a natural next step from the guest post. If your guest post is about '5 Time-Saving Tools for Freelancers, ' your landing page should offer something like a free checklist of those tools or a mini-course on freelancing productivity. That way, readers who enjoyed your guest post will happily trade their email for more of the same.
Pick The Right Blogs To Guest Post On
Not all guest posting opportunities are equal. Look for blogs that your ideal readers actually visit. A small, engaged audience beats a huge, disinterested one every time.
Also, check if the blog allows you to include a link in your author bio or within the post itself.
Create A Dedicated Landing Page
Don't just send guest post readers to your homepage. Build a simple landing page that matches the topic of your guest post. Use a clear headline, a short explanation of what they'll get by subscribing, and a signup form.
Tools like ConvertKit or Mailchimp make this easy.
Craft A Compelling Call-to-action
Your guest post should include a natural call-to-action that leads to your landing page. For example, 'Want a free checklist of these tools? Click here. ' Make it relevant to the post and irresistible.
Avoid generic phrases like 'Subscribe to my newsletter. '
Track And Optimize
Use UTM parameters to track how many visitors come from each guest post. If one post drives a lot of traffic but few signups, tweak your landing page or call-to-action. Over time, you'll learn what works best for your audience.
8. Run a Webinar or Live Workshop

Webinars and live workshops give people a reason to show up in real time, and that reason is usually you. When you teach something valuable for free, attendees happily trade their email for a spot. Plus, live sessions create a sense of urgency that a blog post can't match.
The key is to make the session genuinely helpful, not a 45-minute sales pitch. Pick a topic your audience already struggles with, then promise a clear outcome. For example, "How to Start a Vegetable Garden in One Weekend" or "3 Simple Steps to Edit Your First YouTube Video.
"
Pick A Topic That Solves A Specific Problem
Your webinar should answer one burning question your readers have. Look at your blog comments or emails to find common pain points. Then craft a title that promises a quick win, like "Build a WordPress Site in 30 Minutes.
"
Set Up Registration And Reminders
Use a tool like Zoom or Google Meet for the live session, but collect emails through a simple landing page. Tools like Eventbrite or a ConvertKit form work well. Send a confirmation email immediately, then remind attendees 24 hours and 1 hour before you go live.
Follow Up After The Event
The real list-building magic happens after the webinar. Send a replay link to everyone who registered, even those who didn't show up. Then, over the next few days, share bonus tips or a related resource to keep them engaged.
This turns a one-time attendee into a loyal subscriber.
9. Create a Free Downloadable Resource Library
One download gets old fast. A whole library keeps people coming back for more. When you build a collection of free resources and lock it behind a simple signup, you give readers a reason to join now and stay subscribed for whatever you add next.
Start with what you already know. Turn your best tips into checklists, templates, swipe files, or printable guides. Each resource should solve one small problem your audience faces.
Then group them into a single page that only subscribers can access. The beauty of a library is that it grows with you. Every new post can point to a relevant resource inside, and every new resource gives you a fresh reason to email your list.
It's a cycle that keeps delivering value without starting from scratch each time.
What To Include In Your Library
Mix formats to appeal to different learning styles. A PDF checklist, a Google Sheets template, a short audio tip, and a mini video walkthrough cover most bases. Keep each item focused and genuinely useful, not just filler.
Start with 3–5 resources. You can always add more later, and a smaller library that's high quality beats a bloated one that overwhelms people.
How To Gate Access Without Being Annoying
Use a simple signup form that clearly states what people get. A dedicated landing page works well, but you can also link to it from your blog's navigation or a sidebar widget. Make the signup process one step: enter email, get instant access.
Avoid requiring a password or multiple form fields. The easier it is to get in, the more likely people will join. Send the access link in a welcome email so they can bookmark it.
Promoting Your Library On Every Post
Add a line at the end of each blog post that points to a specific resource related to that topic. For example, a post about meal planning can link to your free weekly meal planner. This contextual approach converts better than a generic 'join my list' plea.
You can also create a dedicated page on your site that showcases the entire library. Link to it in your main menu and mention it in your email signature. The more places people see it, the more signups you'll get.
10. Add a Subscribe Link to Your Email Signature

Every email you send is a tiny billboard for your blog, and most people waste that space on a generic sign-off. Tacking your signup link onto the bottom of your signature turns routine replies, client emails, and follow-ups into a quiet growth channel that works while you sleep. The best part is you set it up once.
After that, every message you send carries a direct path to your list, no extra effort required. It sounds almost too simple, but simple is exactly why it works. You're already emailing people.
You're just giving them somewhere to go next.
Your email signature is prime real estate that most bloggers ignore. People who email you already know, like, or work with you, which makes them far warmer than a random visitor from search. A single line with a clear link can pull in subscribers from conversations you were having anyway.
No new tools, no ad spend, just a small tweak you make one time.
Keep The Link Short And Obvious
Don't bury your signup page behind a vague phrase like "learn more. " Use plain words that tell people exactly what happens when they click, such as "Get new posts by email" or "Join my weekly newsletter. " One link is plenty.
Stacking three different links in your signature makes people choose, and choosing usually means doing nothing.
Match It To The Email You're Sending
A cold outreach email and a reply to a loyal reader call for slightly different wording. For casual replies, a friendly line like "I share tips like this every week, join here" feels natural. For professional emails, keep it clean and understated.
The link still works, it just doesn't shout.
Set It Up In Every App You Use
Most email clients let you save a signature that fills in automatically. Do this in Gmail, Outlook, Apple Mail, and anything else you send from regularly. If you use a phone for quick replies, check that the signature carries over there too.
Half-finished setups are the main reason this trick quietly stops working.
11. Use Social Media to Promote a Lead Magnet
Social media is where your audience already hangs out, so why not meet them there? Instead of just posting links to your blog, share bits and pieces of your lead magnet to show people what they'll get. A lead magnet is anything valuable you offer in exchange for an email address—a checklist, template, mini-course, or exclusive guide.
By teasing its best parts on social platforms, you create curiosity and give followers a clear reason to click through to your signup page. This approach works because it's low-pressure. You're not asking for the sale; you're offering a free taste.
And when people see the value upfront, they're far more likely to hand over their email.
Share A Sneak Peek
Post a screenshot or a short excerpt from your lead magnet. For example, if it's a checklist, share three items from it. If it's a video course, post a 30-second clip.
Make sure the post stands alone as useful, but leaves them wanting more. End with a simple call-to-action like 'Want the full checklist? Grab it free at the link in bio. '
Turn Key Points Into Graphics
Break your lead magnet into a few key tips and turn each one into a standalone graphic. Use Canva or a similar tool to create clean, branded images. Post one tip per day or week, and always include a line about where to get the complete resource.
This keeps your feed valuable while steadily driving traffic to your signup page.
Run A Quick Giveaway
Partner with a similar account for a giveaway where the prize is your lead magnet plus something extra. To enter, people must sign up for your list. Keep the rules simple and make it clear that signing up also gets them the freebie.
This can bring a surge of new subscribers who are genuinely interested in your topic.
12. Ask Readers to Share Your Newsletter

Your current subscribers already like what you send. That makes them your best promoters, and they don't need a fancy incentive to help. A simple ask can turn one subscriber into three.
Most people just need a nudge. They might not realize that forwarding your email or sharing a signup link is an option. Tell them directly, and make it effortless.
This isn't about begging. It's about giving your fans a way to spread the word because they genuinely find your stuff useful.
When someone enjoys your newsletter, they often tell a friend in passing. But that conversation rarely leads to a signup unless you give them an easy path. A quick line at the end of your email can change that.
You don't need to be pushy. Just be clear about what you're asking and why it helps. People are more willing to share when they know it supports you and their friend.
Add A Forward-friendly Footer
At the bottom of every email, include a short line like: 'Know someone who'd dig this? Forward it their way. ' That tiny prompt reminds readers that sharing is welcome. You can also add a link to your signup page so the friend can subscribe in one click.
Keep the wording casual and friendly, not salesy.
Make Sharing A One-click Habit
Include social share buttons or a 'share this email' link in your newsletter. Services like Mailchimp and ConvertKit offer built-in share options. When sharing takes one tap, more people do it.
Put the buttons near the top or bottom where they're easy to spot.
Run A Simple Referral Contest
Encourage sharing by offering a small reward. For example, 'Refer three friends and get a free ebook. ' Tools like SparkLoop or ReferralCandy can track referrals automatically. Keep the prize relevant to your blog and low-cost.
The goal is to motivate sharing, not to break your budget.
FAQ
How often should I email my list?
Aim for at least once a week or every two weeks. Consistency matters more than frequency, so pick a schedule you can maintain.
What's the best free tool to start an email list?
MailerLite and Mailchimp both offer free plans for beginners. Start with one that fits your budget and ease of use.
Do I need a lead magnet to grow my list?
Not necessarily, but a lead magnet speeds up growth. Even a simple checklist or PDF can make a big difference.
How do I get my first 100 subscribers?
Focus on personal outreach, guest posting, and adding signup forms to your most popular posts. The first hundred often come from direct effort.
Can I build an email list without a blog?
Yes, but a blog gives you content to attract visitors. You can also use social media or a landing page, but a blog makes it easier.
Conclusion
Don't try to launch all twelve tactics at once. Pick two that fit how you already work, like a simple signup form and one lead magnet, then give them a few weeks to breathe.
Watch which posts actually turn readers into subscribers, and lean into whatever gets the most signups. Your list grows one honest opt-in at a time, so keep it useful and keep it human.
Free PDF Download
Not Sure Which Side Hustle Fits You Best?
Take the free Side Hustle Matchmaker Quiz and get a simple 7-day starter plan to help you choose a beginner-friendly idea based on your time, skills, comfort level, and goals.
You’ll get this free PDF plus access to the full Marketerna Save More & Earn More PDF Kit. No spam. Unsubscribe anytime.